How to Fit a Kitchen Sink & Taps
Planning & preparation
- This guide will take you through how to fit or replace kitchen taps, how to fit a kitchen sink, and choosing the right sink and taps with product compatibility in mind
- When deciding which kitchen taps to buy, take into consideration your sink unit. To accommodate mixer taps, your sink unit only needs one tap hole. For separate hot and cold taps, it needs to have two holes
- Make sure the water supply is turned off before you remove an old sink and tap, or fit new ones
Do it right
- Spanners and screwdrivers can easily scratch chrome taps, so where possible use a soft cloth to protect the finish
- It’s important not to over-tighten a washer or valve when assembling, as this may damage or cause excess stress on the joint
Staying safe
- If replacing an old sink and taps, make sure you turn off the water to the area before attempting to remove them. Also, avoid lying directly underneath when removing the old sink, as small parts may fall during the process
- This guide is designed to help you safely through the process of fitting a sink and tap. If you’re in any doubt, please seek advice from an expert and always follow manufacturers’ instructions
Aftercare
- Always use cleaning products that are appropriate for your chosen sink and tap to avoid damaging the materials. You should be able to find guidance for this in the manufacturers’ instructions
Step by step
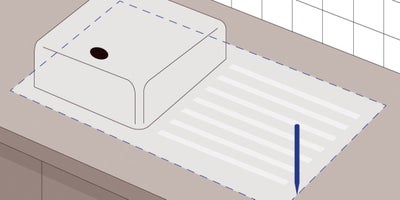
Position the kitchen sink upside down on the worktop where you would like it to be located and draw around it with a pencil.
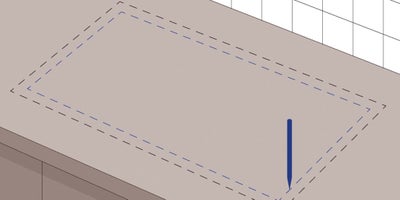
Move the sink and draw a second line, about 10mm – or the depth recommended by your manufacturer – inside the first line.
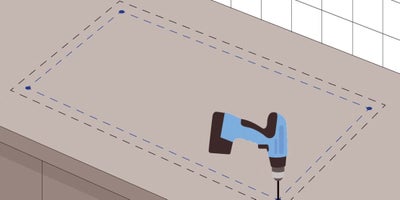
Use a 10-15mm drill bit to make four holes in the corners of the inner line you’ve drawn.
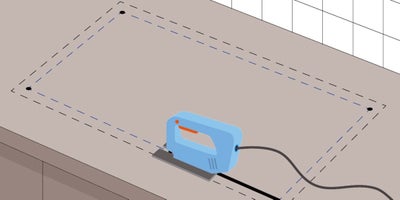
Place your jigsaw blade into one of the holes and cut carefully along the inner line. Support the area of worktop you are cutting around so that it doesn’t drop down.
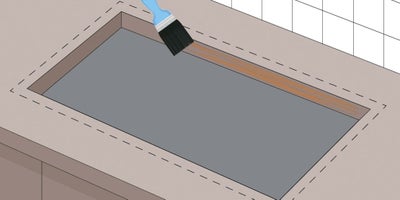
Remove the cut area and treat the edges of the worktop by brushing with a waterproof sealant and leaving to dry.
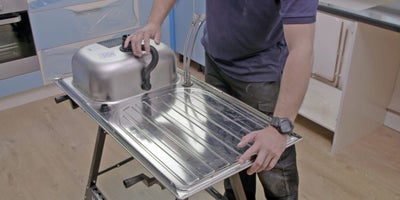
Assemble the sink, taps and waste unit using the manufacturer’s instructions.
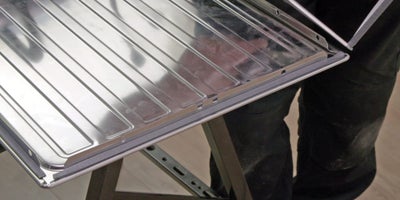
Position the sink using either the supplied edging strip or a bead of silicone on the cut edge of the worktop. Then use the supplied clips to fix the rim on the underside of the sink to the worktop, using two on each side. This will secure it in place.
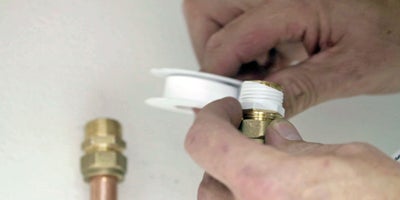
Use flexible connectors to attach the new tap or taps to the existing supply pipes, applying PTFE tape to the thread of the pipe, to help create a watertight seal.
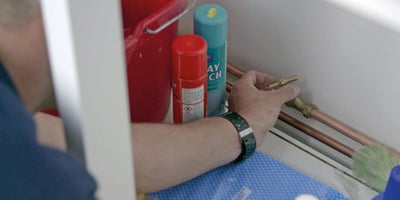
Turn the water back on and check for any leaks – tightening the valves with a Monobloc tap spanner if necessary.
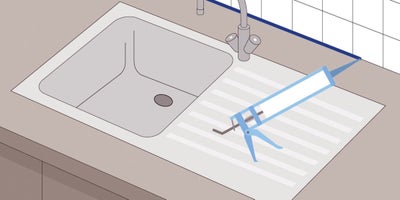
Run a bead of silicone along the back edge of the worktop and smooth it down with a sealant finishing tool for a neat and watertight finish.
