How to Build a Kitchen Base Cabinet
Planning & preparation
- All of our Wickes Lifestyle kitchen cabinets come prepared for you to assemble at home. Bear in mind that fitting instructions may vary depending on the design, so be sure to always read the manufacturer’s instructions that will be provided in the pack
- Before you start assembling the kitchen cabinets, lay all the parts out on the floor. This is a good way to check you have everything you need and to get a sense of how the parts will fit together
- Empty the provided fittings into a bowl or keep them sealed in their plastic bags so they don’t get lost
Do it right
- Make sure you don’t over-tighten the screws as this can damage your cabinets. For this reason, it’s best not to use an electric screwdriver
- Be sure to use the provided fixings and guide holes
- Whilst it is possible to fit cabinets on your own, we recommend you ask for a helping hand when fitting or moving large cabinets
Staying safe
- Take care when lifting heavy cabinets
- This guide is designed to walk you safely through the process of building kitchen cabinets. If you’re in any doubt, please seek advice from an expert and always follow the manufacturer’s instructions
Aftercare
- Always use cleaning products that are suitable for your cabinets to avoid damaging the material. You should be able to find guidance on this in your manufacturer’s instructions
Step by step
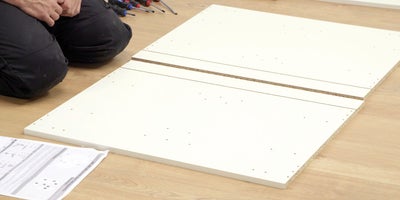
Place the side panels on the floor with the holes facing upwards.
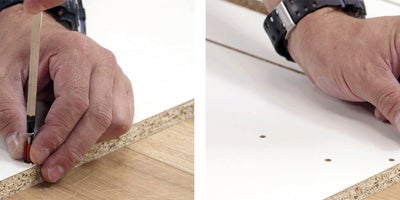
On the outside edge of each panel, screw the supplied cam studs into the top and bottom holes. On the back edge, close to the groove, leave the corner holes empty and screw cam studs into the next hole at the top and bottom. These will connect the panels to the top struts and bottom panel using locking cams.
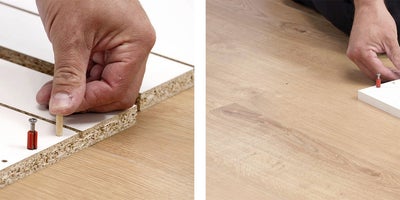
For extra strength, place four dowels into each side panel. Two will go in the holes you left empty near the groove. The third will go in the top outside corner next to the cam stud. At the bottom outside corner, leave the hole next to the cam stud empty and place the fourth dowel in the next hole along.
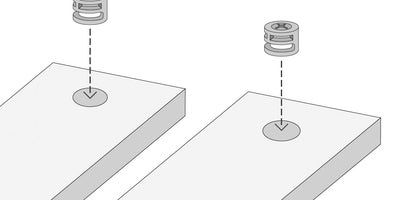
Place the locking cams into the large holes in the top struts and bottom panel.
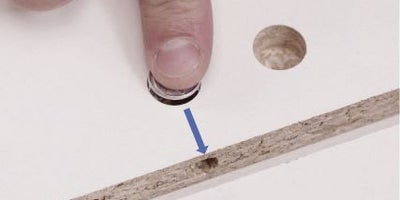
Make sure the arrows on the locking cams point toward the outside edge of the strut, this means they are unlocked and can receive the cam studs.
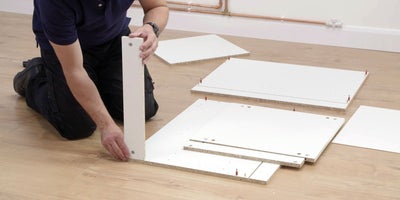
Gently place the top struts onto one of the side panels, sliding them down onto the dowels and cam studs.
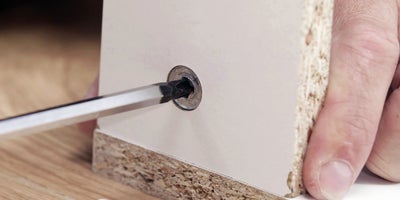
Secure the cam locks by turning them firmly clockwise using a screwdriver. Be careful not to over-tighten.
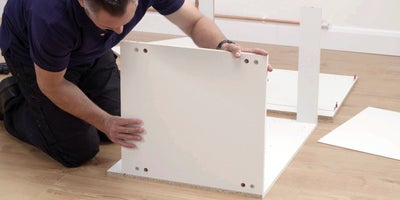
Take the base of the cabinet and repeat the process used when securing the top struts to the cabinet structure.
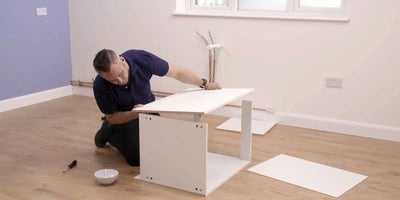
Carefully slot the second side panel onto the base panel and top struts and secure the cam locks.
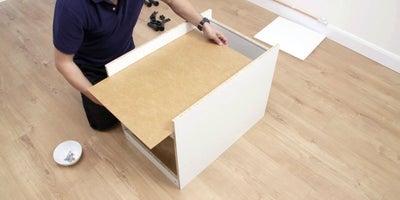
The back panel will slide in along the groove created by the base panel and side panels. Secure it to the back top strut using the three screws provided.
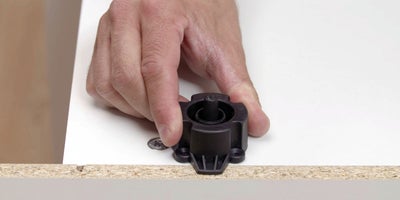
Place the four leg sleeves onto the bottom of the base panel, making sure the small overhang on each supports the base of the side panels. Tap in the lugs and secure with the screws.
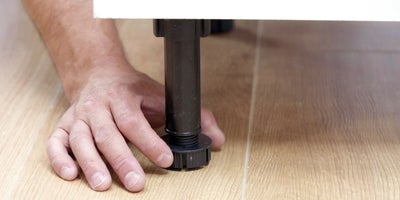
Place the four cabinet legs into the sleeves. Turn the cabinet onto its legs, being careful not to put pressure on any of the legs at an angle, and twist the legs to adjust the height.
