How to Install Base & Wall Kitchen Cabinets
Planning & preparation
- This guide will show you how to install base kitchen units and wall kitchen units. Please be aware fitting instructions may vary for each design so we recommend that you check the manufacturer’s instructions before beginning your project
- Before you begin, make sure your package include all the parts you need. By laying them on the floor, you can check and get a sense of how to fit pieces together
- Keep your parts safe by storing them in a bowl or keeping them sealed in their bags throughout your project
- Check the area where you plan to fit your cabinets with a pipe, cable and stud detector. If you are fixing into a timber frame wall, mark out the position of the studs accordingly
Do it right
- Beware of uneven flooring. If your flooring is uneven, adjust the legs of your cabinets until they are level before fully installing
- Take care not to over-tighten the screws as this can damage your cabinets
- Always use the provided fixings and ensure that your cabinets are level
- When drilling into the wall, clearly mark guide holes to ensure accuracy
- Hanging a wall cabinet or a large base cabinet can be a two-person job. Be sure to ask for help when lifting and fitting if required
- When fixing the provided doors and handles, make sure you use a step ladder rather than stand on the base cabinets or worktop as this can cause unnecessary damage
Staying safe
- Ask for assistance when lifting heavy cabinets
- Wear safety goggles and take care when drilling
- Wear safety goggles and a dust mask when using a jigsaw or circular saw
- This guide is designed to walk you safely through the process of installing base and wall kitchen cabinets. If you’re in any doubt, please seek advice from an expert and always follow the manufacturer’s instructions
Aftercare
- A few weeks after installation, check the fixings (both those linking the cabinets and those attaching them to the wall), and adjust if necessary
- Always use cleaning products that are appropriate for your cabinets to avoid damaging the material. You should be able to find guidance on this in your manufacturer’s instructions
How to install base cabinets
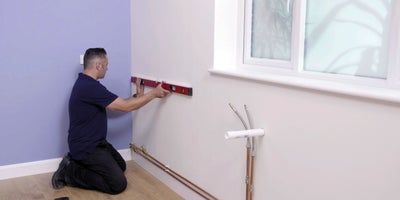
Starting in a corner, mark out a line along the wall where the top of the cabinet is going. Use a spirit level to keep the line straight.
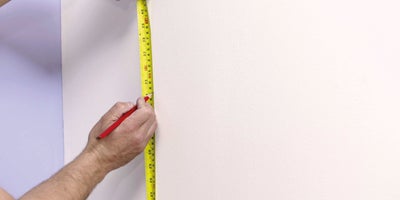
As floors can be uneven, periodically check the distance from the line to the floor with a tape measure to be sure your cabinets will fit beneath.
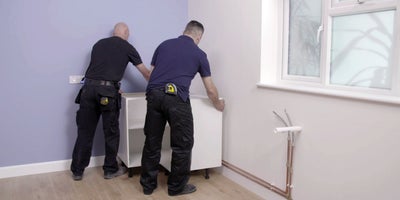
Starting in the corner, place the first base unit into position so it is resting with its back edge against the wall.
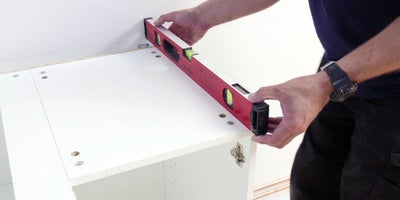
Check the base unit is level using a spirit level, twisting the legs to adjust them as necessary.
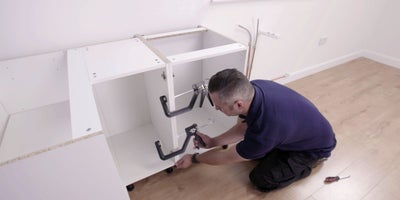
Add the next cabinet alongside the first. Clamp adjacent cabinets together with two clamps, one at the top and one at the bottom.
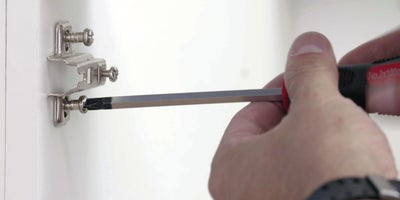
To attach the cabinets together, remove the hinge plates. Drill and screw through the adjacent cabinet using the screws provided. Then replace the hinge.
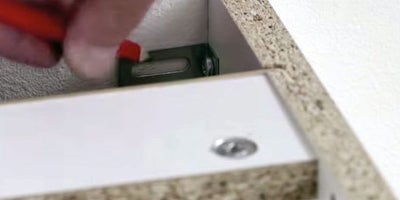
Attach L-shape angle brackets to the side panels near the top where they will meet the wall. Mark the drill holes onto the wall with a pencil.
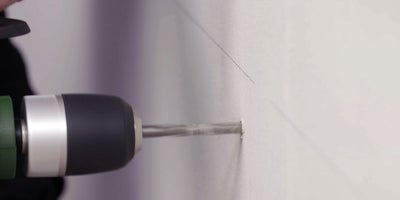
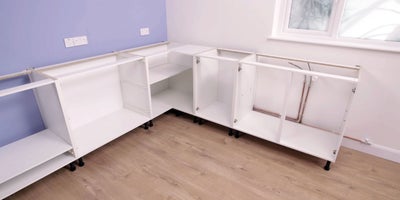
Continue until all of the base cabinets are in position.
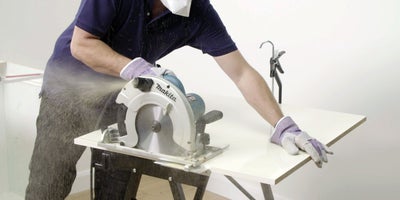
At the end of a row, you will need to attach a decorative panel to ensure your kitchen looks uniform and finished. You might need to trim this down to the correct width using a circular saw or jigsaw.
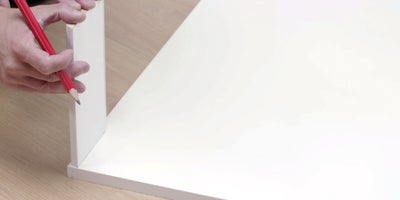
If necessary, cut the decorative panel to fit around the skirting board. Mark the height and width of the skirting board onto the panel using an off-cut and then cut out with a jigsaw.
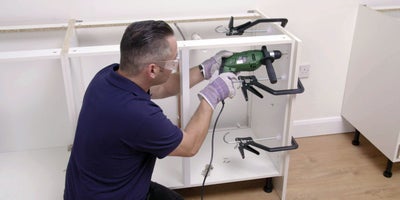
Clamp the decorative panel to the cabinet and remove the hinges. Drill and screw from the inside of the cabinet into the panel, being careful not to go through the panel. Replace the hinges.
How to install wall cabinets

Starting in a corner, draw a line at the height where you want the bottom of your wall cabinet to be using a tape measure, spirit level and pencil.
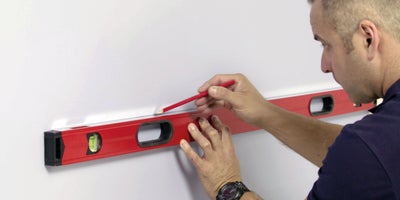
Use the spirit level to mark out exactly where the outline of the wall cabinet will be, making sure the corners are clearly defined.
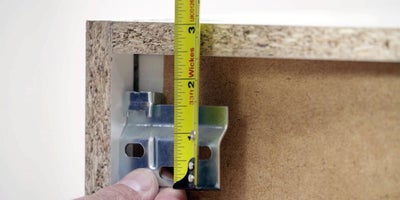
At the back of the cabinet, you’ll find the hooks that will attach it to the wall bracket. Using a tape measure, measure the distance these hooks are from the top and sides of the cabinet.
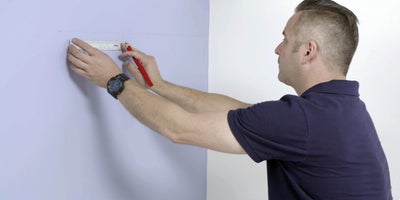
Mark these measurements onto the outline you’ve pencilled on the wall so you know where the brackets need to be positioned.
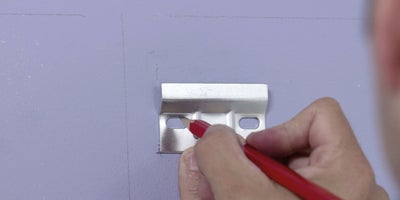
Use the brackets as a guide to mark the exact position of the screw holes.
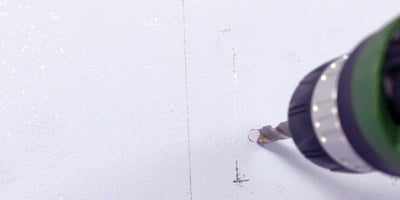
Use a drill bit and drill setting appropriate to your wall type to create the holes. Place wall plugs into the holes and screw the brackets into place.
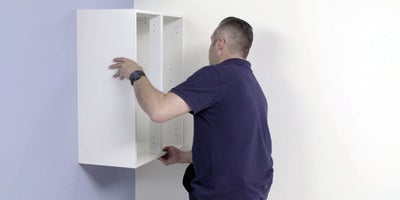
Lift the wall cabinet into place slightly above the brackets and carefully lower it down so that the cabinet brackets hook onto the wall brackets.
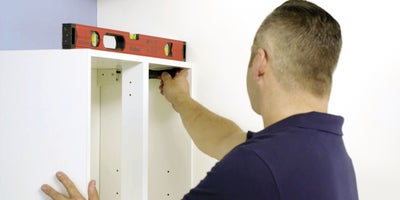
To make sure the cabinet is level, use a spirit level and a screwdriver to adjust the adjuster block inside the cabinet. Clamp and screw adjacent cabinets together and then use the spirit level to check they are all level.
