How do I start growing my own fruit and vegetables?
Growing your own fruit and vegetables is a very rewarding way to use your garden. In fact you don’t even need a garden, as some plants can be grown in small pots and containers if you have restricted outdoor space. Whether you’re growing strawberries, potatoes, tomatoes or salad leaves, few things compare with the taste of freshly picked fruit and veg.
With such a huge variety of plants to choose from, starting out can seem a formidable task. Luckily, fruit and veg plants are very adaptable, and by choosing the right plants for the right environment they’re quite easy to grow. Growing your own fruit and veg is also a great family activity, and a chance to connect children to the natural world.
There are some general guidelines you should follow if you want good harvests from your plants.
- Firstly, choose the fruit and veg that you and your family will love to eat! This just adds to the satisfaction.
- Decide where your growing spot will be. Almost anywhere is good enough as long as it’s not in deep shade, although free-draining soil in full sun is best.
- Check your soil type and improve if necessary with compost or other organic matter. If you’re using containers try to avoid filling them with heavy clay soil.
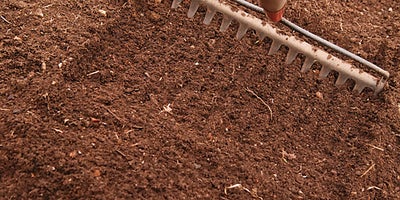
- Always prepare your soil bed well by digging over thoroughly, hoeing and raking the soil to a fine tilth, then removing stones and weeds.
- Plan your season so you’re sowing across a number of weeks, which means you’ll have a longer harvest season.
- Plant fast-growing varieties for a quick harvest if you don’t want to wait for months.
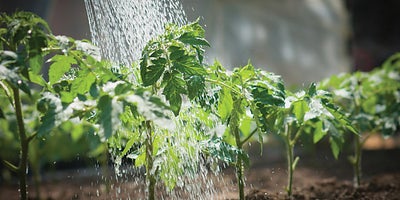
- Keep everything well-watered, especially in hot dry spells.
- Practice crop rotation over the years to help prevent pests and diseases becoming established.
Growing vegetables from seed
The most cost-effective way to grow vegetables is from seed. There are also far more varieties available compared to buying ‘plugs’ or young plants. Make sure to follow any specific sowing instructions. Seeds have the best chance of germination if they’re sown into a fine tilth soil.
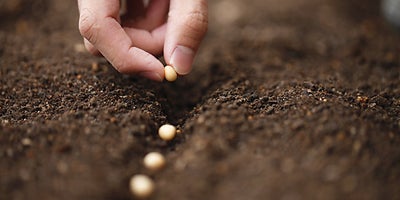
Use a string line to mark the position of and create a small drill (a shallow furrow) with a trowel. Sow the seeds according to packet instructions, especially the spacing information. It’s important your plants aren’t too close together.
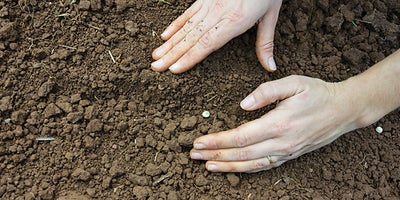
Carefully draw the soil over the seeds, gently patting it down with your hands or the back of a trowel. Then water generously using a watering can with a fine rose head.
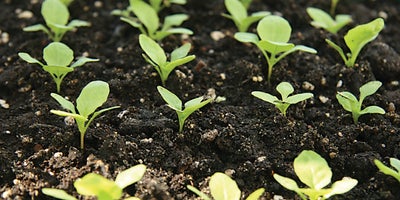
To avoid overcrowding, thin out the seedlings by nipping them off at ground level. Try not to be too aggressive when thinning out though, as you may lose plants to pests or disease later on in the season.
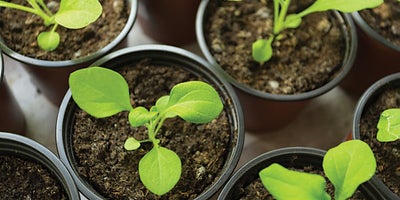
If you’re growing seeds under cover, simply sow into seed trays and thin out as above. Wait until the seedlings have 2-3 leaves before replanting them in larger seed trays or individual pots.
Before you plant seedlings out permanently, they need to become accustomed to outside conditions. Put them outside during the day before bringing them back under cover each night. After a week or two they should be ready to be planted outside.
Continue to water and feed plants throughout the season according to packet instructions.
How to grow tomatoes
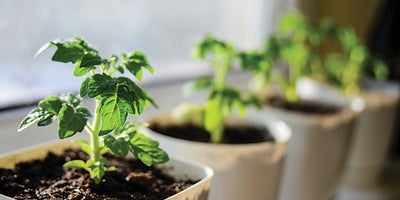
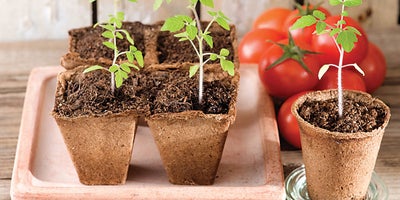
Tomatoes usually grow very quickly with some sun, rich soil and regular feeding, making them an ideal starter plant. They are very low maintenance plants which can also be grown in hanging baskets and window boxes.
You can either sow the seeds into trays and propagate them, or buy pot grown seedlings and young plants if you want a head start. Tomatoes shouldn’t be planted outside until the threat of frost has passed.
Some bushy varieties will need support, so when planting, tie the main stem to a cane, but not too tightly. Most tomato varieties need specialist plant food to thrive, as well as regular watering.
How to grow strawberries
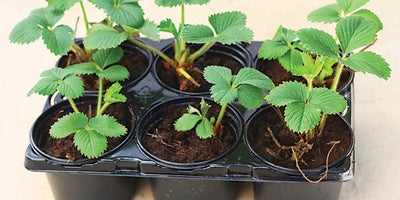
Delicious and always popular, strawberries can be grown in most soil types, as well as containers and hanging baskets. However they won’t grow well in ground that gets easily waterlogged. Strawberry plants have a relatively brief lifespan and should be replaced after 3 years.
Strawberries can be planted outside as soon as you’ve brought them home, and grow best in sunny, well-drained soil. New plants should be watered frequently whilst they establish themselves.
As the fruit develops you may need to protect the plants on the ground by laying down some mulch or some matting to prevent weeds springing up. The plants may also need netting to prevent the birds and squirrels from eating the fruit. Remove any netting and mulch once the fruiting season has ended.
How to grow onions
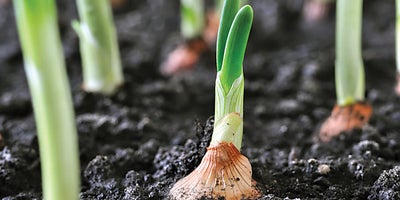
Onions are fairly easy to grow from ‘sets’ (which look like tiny onions) compared to growing from seed. Onion sets should be planted in a sunny, sheltered site with fertile, well-drained soil. Onions won’t grow well in more acidic soils.
Plant each set 5-10cm apart in rows 25-30cm apart. Gently push the sets into the ground so that the top of the pointed end is just protruding above the soil. Firm the soil around them and water well.
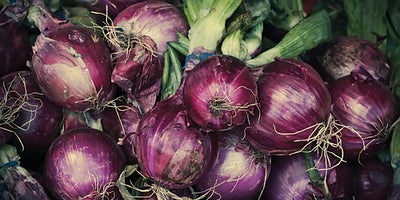
Onions are ready to harvest when the foliage starts to turn yellow and wither or fold over. Make sure to lift the bulbs before the foliage completely dies down. September-planted sets will be ready in June, and Spring-planted sets will be ready in early Autumn.
How to grow carrots
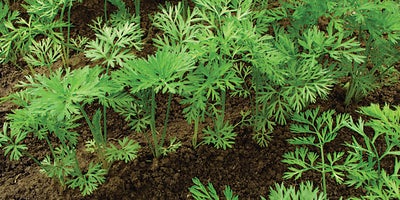
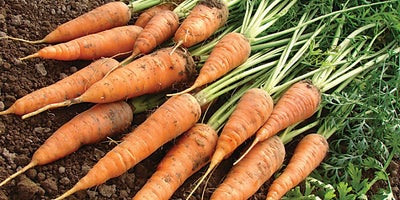
Carrots are a traditional favourite as they have a long season and are quick and easy to grow. They thrive in fertile, lighter sandy soils, and can also be grown in containers. Short-rooted varieties may be more suitable for heavy clay soils.
Some early varieties can be sown under a cloche, but maincrop carrots are best sown direct into a seed drill from April to early July. Sow the seeds as thinly as possible, 1cm deep, in rows 15–30cm apart. Thin out seedlings if necessary, aiming for plants 5–7cm apart.
Carrots are hardy and drought resistant, so they don’t need regular watering. Be careful when weeding or thinning out, as the scent of any damaged or crushed foliage will attract carrot fly. You can cover your crops with fleece tunnels to prevent carrot fly.
Carrots are ready to harvest 12-16 weeks after sowing.
How to grow broccoli
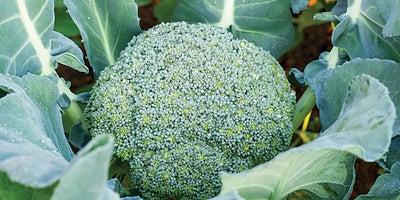
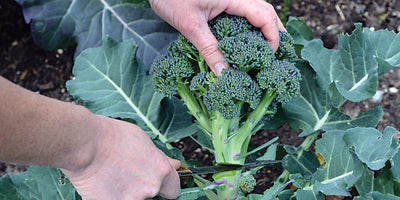
Broccoli grows quickly, and is well known for its nutritional value. Maincrop broccoli can be sown in Spring for an Autumn harvest, and hardy purple-sprouting broccoli can be sown in the Autumn for a Spring harvest.
In the early Spring, use a seed tray kept indoors to germinate seedlings, before transferring them outdoors. From April you can sow directly outdoors. Broccoli should be sown into a seed drill – space your seedlings 30cm apart, with 45cm between rows. Alternatively sow the seeds in groups of 3, spaced every 30cm along the drill.
Once the seedlings are large enough, thin them out from three to one. Cover the crop with protective fleece to prevent frost and pest damage. The fleece can be removed from May onwards when the risk of damage is reduced. You may need to net the plants again when the heads start to form, to prevent birds from eating them.
How to grow rhubarb
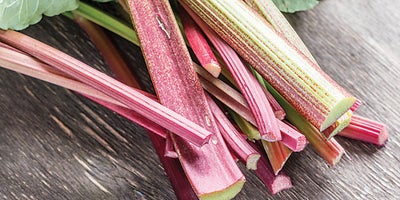
Rhubarb is a hardy perennial which requires a little care and attention early on, but grows well once established. Choose an open sunny site with free-draining soil, as rhubarb dislikes being waterlogged. Keep an eye out for late frosts, which also risk damaging the plants.
Rhubarb can be grown from seed but it’s more common to plant dormant crowns in late autumn. Plant the crowns 75-90cm apart and make sure the crown tip is just visible above the soil. Keep the ground free from weeds by applying a mulch, but don’t cover the crown as this will cause it to rot.
Don’t harvest any stems in the first year, as this will weaken the plant. The following year, harvest just a few stems. Patience will be rewarded in the third year however, when the plant will be healthy enough for a full harvest. Remove the stems by gently twisting and pulling them, rather than snapping them off.
How to grow raspberries
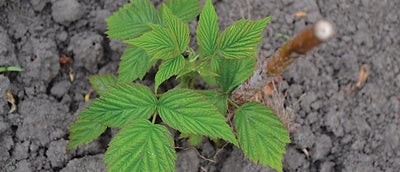
Popular and easy to grow, raspberries can be planted from late Autumn to early Spring and can be harvested from throughout Summer into Autumn. Raspberry plants usually provide an abundance of fruit, so you can freeze any excess, give them to friends, or make delicious jam.
Raspberries thrive best in sunny, well-drained soils which retain some moisture and are weed-free. Heavy clay or excessively chalky soils aren’t really suitable. Summer fruiting varieties grow best with a framework to support them. Take some canes, which should be 2m high, space them out 2-3m apart, and attach horizontal lines of string or wire across them. Space the wire at different heights – 80cm, 1.2m and 1.6m from ground level. Tie the plants to the framework as they grow.
Keep the plants well-watered during dry spells. Regular annual pruning will result in healthier plants and more productive harvests. Summer fruiting varieties should be pruned back to ground level immediately after they crop. Autumn fruiting varieties should be cut back in February.
How to grow apples
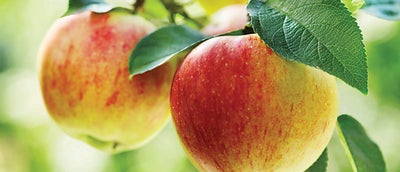
Apples are probably the easiest fruit tree to grow. There are thousands of different varieties, including many delicious native ones which you won’t find in the shops. Apples broadly fall into two categories – dessert apples for eating, and cooking apples for baking. Once established, an apple tree requires very little care throughout the year, other than watering the younger trees during prolonged dry periods.
Growing apples from pips takes too long and is too unreliable. It's much easier to buy named cultivars of apples from a reputable specialist nursery, where they are supplied as young trees ready for planting.
Bare-root plants should be planted from late Autumn until early Spring. Dig a hole no deeper than the roots, but up to three times the diameter of the root system (spread the roots out on the ground before digging the hole). Place the plant in the planting hole and carefully refill, placing soil between and around all the roots to eliminate air pockets. Firm the soil gently with your hands or by stepping on it.
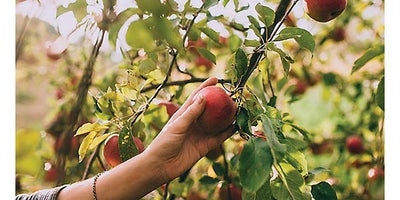
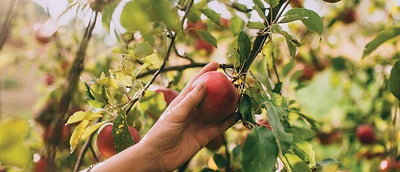
Apples should be pruned every year to get the best crop, but the timing and method of pruning can be specific to the variety of tree you have. Seek advice from the nursery when you buy. At harvesting time, ripe apples can be gently twisted off their stems. If the apple is difficult to pull off then it’s not ready to pick. Seeing a windfall of apples which have dropped to the ground is also a good indication that the fruit on the tree is ripe enough to pick.
