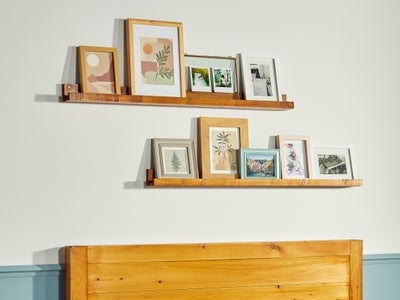
Statement shelving
These statement shelves can be made to fit any alcove.
Method
Measure the width of your alcove and take away 5mm from the measurement, to get the length of your shelves. Subtracting that gives your shelves a small allowance on either end so that they’re not flush against the wall.
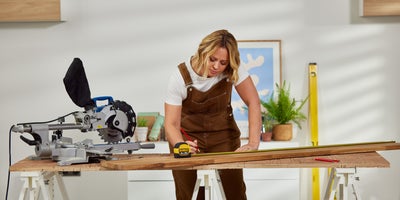
Once you have your lengths, cut your shelf boards to size. We used a mitre saw to do this, but any handheld power saw or manual saw will do the job.
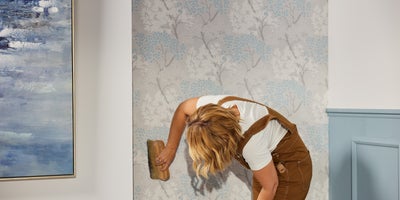
Once your wallpaper is up, attach the shelf brackets to the wall. It’s up to you how far in from the wall you want your brackets to sit, but you’ll need to measure in the same amount from either side to make sure they’re evenly spaced. Make an initial small mark on the wall for the outside edge of each bracket, so you have a guide as to where you’re placing them.
Once you’ve decided where you want your brackets to go, hold your first one against the wall and use a level to make sure it’s straight. Then mark the positions for your wall fixings, which are pre-drilled in the bracket legs.
Hold your second bracket in position where you made the initial small mark and place a level across the top of both brackets and make sure that they’re aligned at the same height. Then mark the positions for your wall fixings and repeat the process used to attach the first bracket.
Now that you have your first set of brackets fitted, you’ll need to work out how far apart you want to space out your shelves. You do this by measuring your desired space and making a mark for height of the next set of brackets. Remember to take the thickness of your shelf boards into account when doing this.
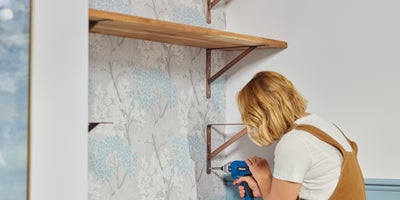
To make sure all of your brackets are aligned vertically, butt-up a spirit level to the side of your installed brackets and use it to guide the position of your next set. You can now repeat the installation process for the remaining brackets.
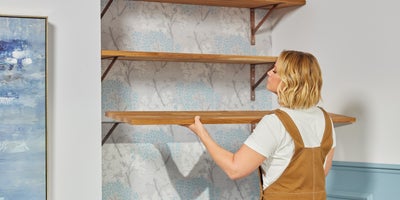
Now slide your shelves onto the brackets. Then screw through the bracket and into the wood to hold them in-place.
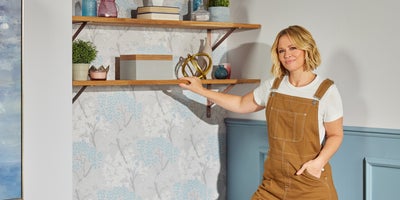
Now they’re ready to be dressed.
