Installing a raised deck
Installing decking is an excellent way to create an outdoor living space which can be used for relaxing and entertaining. Decking can either be freestanding or attached to your house, and it really gives you a chance to be creative with design and function.
This guide outlines the method for building raised decks with timber frame and horizontal deck board positioning. We’ll be using postcrete to set the posts, which is easier to use and sets quicker than concrete. If you want to add rails, balustrades and other features then have a look at our Useful Links section for further details.
Where to install a raised deck
Consider how big you need the decking to be when you’re deciding a location. Are you installing it to complement other garden features such as paving or turf? Raised decking can be quite a sizable structure. If in doubt then be conservative – you can always extend in the future.
You may require planning permission for your raised deck. Local planning laws can be complex and vary from place to place. It’s advisable to check with your local planning authority before you start.
There are a few other factors to think about when planning your decking:
- Is the ground level or does it have a noticeable slope? With good planning and construction, even steeper slopes can be suitable for a raised deck.
- How much sun will the decking get, and what’s the view like from the site?
- How much privacy will you have?
- Is the ground dry underfoot? Wet or boggy ground isn’t suitable for decking.
- Are there any existing features to work around such as trees and posts?
Carefully plan your decking layout and try to limit cutting and wastage. Take into account the following:
- The material of your deck boards
- The size of your decking area
- The size (length and width) of deck boards you’re using
- The required expansion gap for your deck boards
What should the gap between decking boards be?
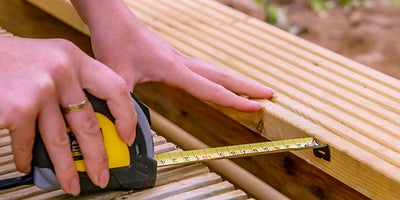
Expansion gaps are essential when installing decking. The gap between each individual deck board allows for rainwater runoff, plus the natural expansion and contraction of the wood throughout its life. You need an expansion gap of 5-8mm between the boards lengthways.
Try to plan your deck to fit only whole boards, to avoid having to awkwardly cut a board lengthways to fill a gap.
How to build raised decking
Building a raised deck does involve planning, and a lot of moving, lifting and cutting heavy timber. Because of the size and weight of the timbers and the frame, it’s always easier and safer if you can get somebody to help you.
As you’ll be digging post holes, it’s worth hiring a CAT (Cable Avoidance Tool) to ensure your site is free from hidden pipes and cables.
Always use structural treated timber and screws specifically designed for the job and treat all cut surfaces and drill holes with two coats of preservative. This will ensure a hard wearing, long lasting deck.
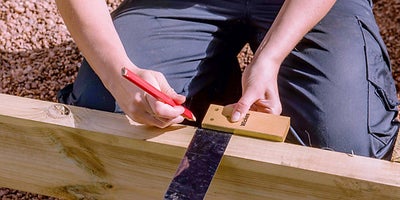
When sawing, use the 90-degree guide marker on your saw, or a set square, to make accurate cuts, and sand the cut ends to remove splinters. When drilling, mark out all pilot holes to ensure your fixings are as accurate as possible.
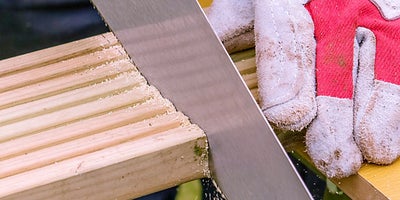
If you do need to cut a decking board lengthways then do it either with a handsaw or a circular saw. Place the board in the area of least through traffic and begin laying your deck boards from the opposite end.
Make sure that you wear appropriate protective clothing, such as gloves, a face mask, or safety goggles, when cutting or sawing timber, applying preservatives or other timber treatments, or using postcrete.
Offcuts of treated timber should never be burned as they will release toxins into the air. Always dispose of them safely at your local recycling or waste disposal centre.
How to fit decking posts
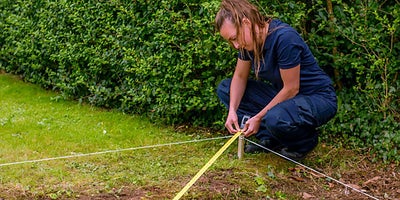
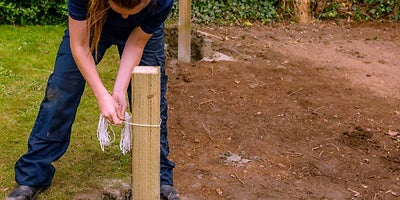
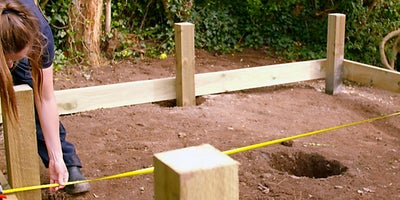
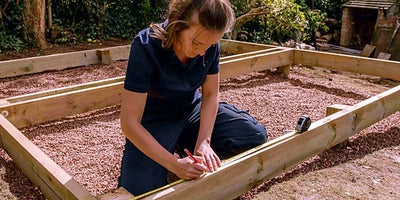
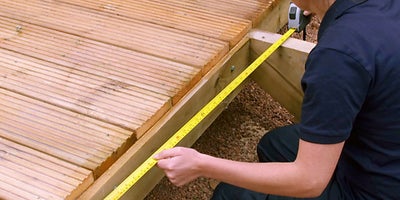
Carefully measure and mark out the deck area using pegs and builders line or string. Measure diagonally from post to post and use a set square on the corners to ensure your area is exactly the required size.
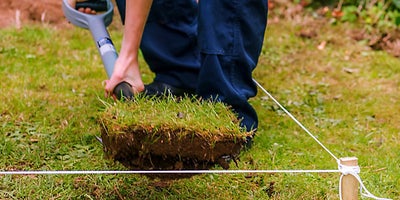
Use a straight edge to cut the edges, then remove the turf and dig the soil out to a depth of 50mm. Keep some of the turf in case you need it later to fill in around your completed deck. Then place a post into position in one corner of your frame, and measure and mark out 100mm from each face.
You are aiming to dig a post hole about 300 x 300mm in size, and about 700mm deep. Repeat this process for the other three corners.
Split a concrete block in two using a brick bolster. Place a section of each block into each of the holes, making sure they are firmly in place.
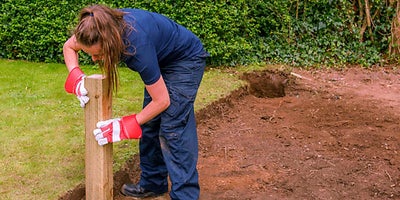
Place a length of post into the hole, making sure it is longer than you need so you can cut it down later.
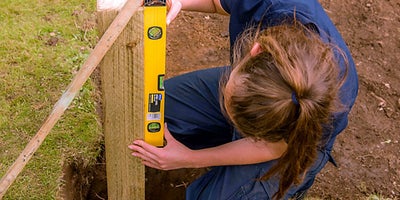
Create props for the posts by screwing in pieces of timber batten to hold them in place. Use a spirit level to check that the posts are vertical and not leaning to one side. Repeat for all four corners. The holes and posts are now ready for the postcrete.
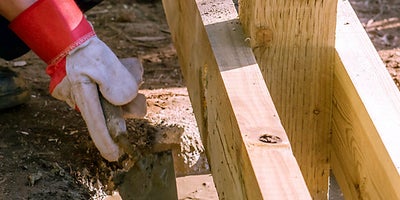
Double check that each post is level then secure each post with postcrete, following the manufacturer’s instructions. Use a trowel to create a slope in the lay of the postcrete to ensure that water drains away from the post on all sides. Allow the postcrete to set, then remove the props.
Wind a string line around the four corner posts to mark the outline of your deck. Find the centre point along the string between each corner and mark each of these spots with a timber batten. You also need to measure and dig a hole in the exact centre of your layout. These new edge posts shouldn’t be more than 1500mm apart, so if you have long edges you may have to mark out two posts on each one, and each of these posts should have a corresponding post inside the layout.
As with the corner posts you need to dig out holes which are 300 x 300mm in size and 700mm deep. Then place a concrete block into each hole but do not install the posts at this stage.
How to build a decking base
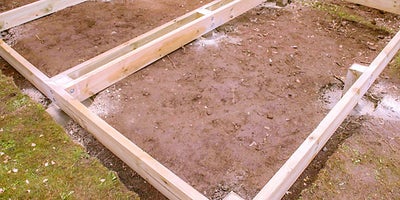
If you are on a slope then always measure and work from the corner where the deck will be at its highest above ground level. Mark on the post where the highest part of the frame will be.
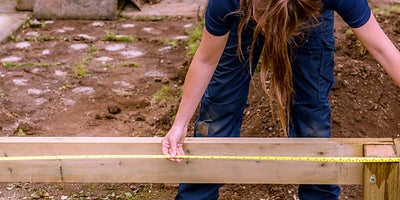
Measure from the far side of one post to the far side of the opposite post and cut a section of joist to this length. Line up one end of the joist with the mark you’ve just made, and temporarily fix it in place with a 64mm deck screw.
To ensure rainwater runs off your deck, factor in a necessary fall of 2mm for every metre of decking. So if your deck is 3m long you should work in a fall of 6mm between its highest and lowest points. Bear this in mind when checking your levels throughout the build.
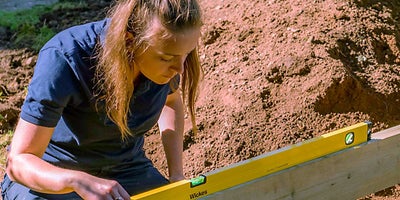
Using the spirit level as a guide, position the first joist at its required level then secure it to the other corner post. You will probably need a helping hand to hold the joist in place. Repeat this process until this outer frame is fixed in place.
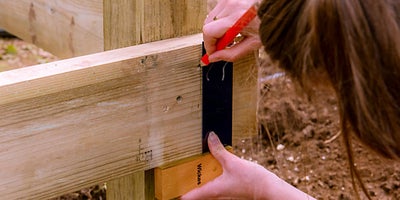
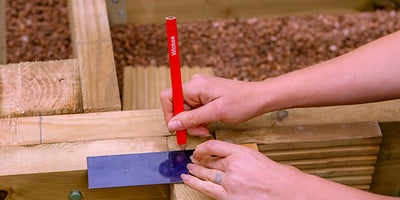
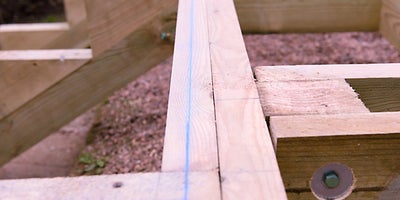
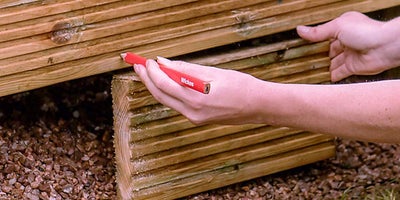
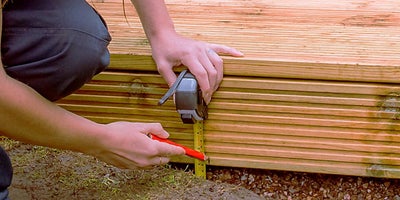
Mark on the frame where the midpoint of the corner post is, then use a set square to draw a straight line downwards. On this line mark guide holes at 40mm from the top and 40mm from the bottom of the frame.
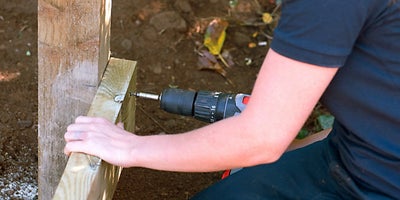
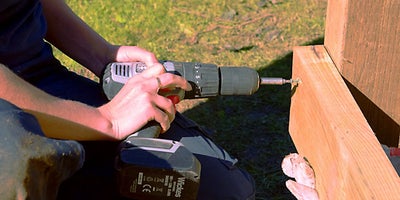
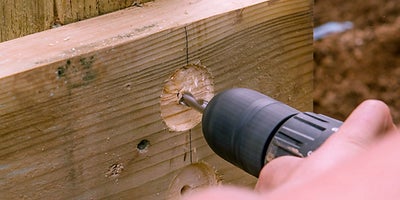
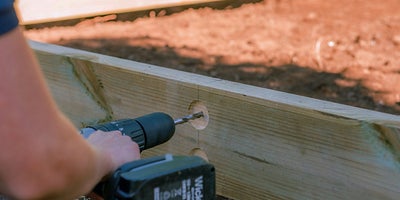
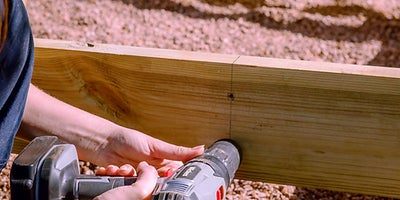
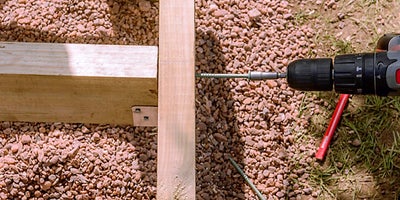
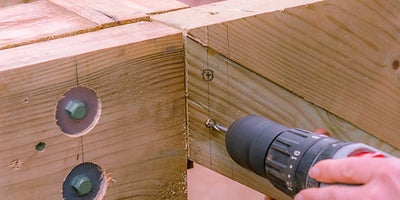
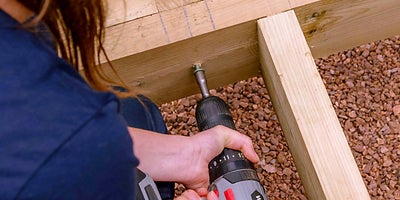
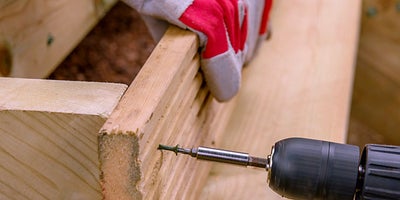
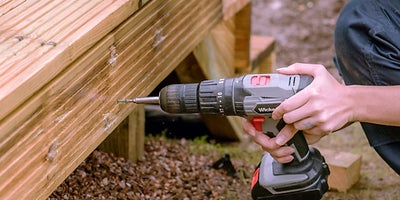
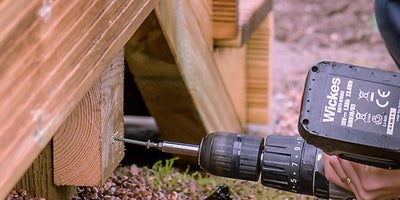
Use a 40mm flat wood drill bit to make countersunk holes around each of the marks. Then use a 6mm wood drill bit to drill the pilot holes.
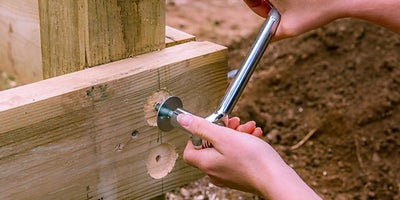
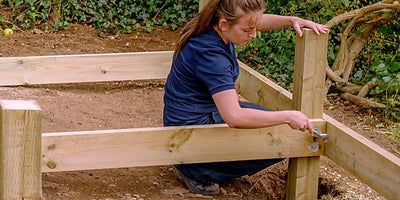
Hang a washer on the end of a 100mm coach screw, insert it into the hole and hand tighten before securing firmly in place with a 13mm socket set. Repeat this process for each end of the outer joists.
Mark on the frame where the centre of the remaining support posts will be positioned, and repeat the process of marking and drilling the countersunk holes.
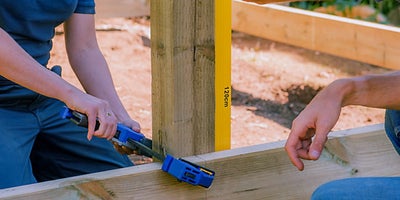
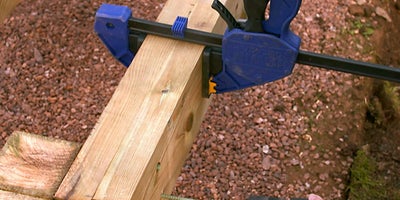
Place a post into the hole in line with your mark on the frame. Check that it’s vertical then clamp it into place. Secure the frame to the post as before, then repeat the process until all the perimeter posts have been fixed into place.
To add your central support joists, measure the distance between opposite points on the inside of the frame. Then cut your joist to this length. The central joists should run in the same direction as your deck boards.
The aim of the next step is to fix the centre post in place, supported by a central joist on either side of it. Once you have marked and checked the exact position of the post and joists, attach the first joist to the frame using countersunk screws and washers as before. Put the centre post into position, clamp into place and fix as you did with the other posts. Use a spirit level to make sure the post is exactly vertical.
Repeat this process so that the centre post is now sandwiched between the two central joists. Once the post and the two joists are fixed in place you can secure all your posts with postcrete.
To trim down the posts, rest the set square on top of the outer frame, mark a line on the posts and saw down as necessary. Your support frame should now be complete.
To prepare your support joists measure the distance between the central support joist and the outer frame. Cut your sections to this length.
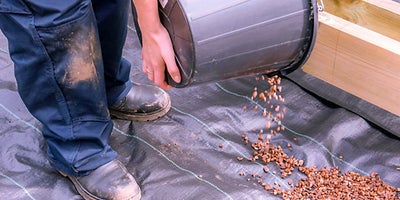
Roll out your landscape fabric and cut to size, making sure it’s as snug to the posts as possible and covering all of the area under the deck. Add gravel or pea shingle, smoothing down as you go.
Adding internal joists
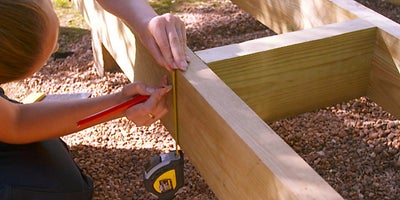
Measure 400mm from the centre of the outer frame and mark a line using a set square. This line marks the centre of where the first joist will be positioned.
Repeat this process at 400mm intervals down the length of the frame. If the final gap exceeds 400mm add an additional joist to ensure that the spacing between joists is never more than 400mm.
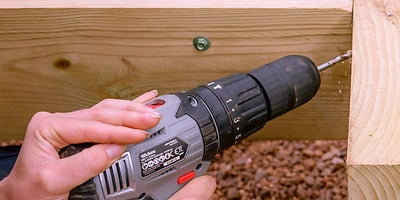
Mark pilot holes 40mm from the top and 40mm from the bottom of the outer frame and drill using a 6mm drill bit.
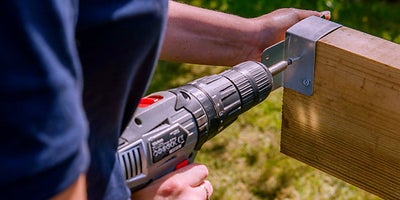
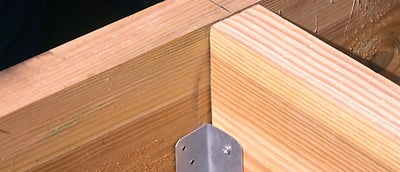
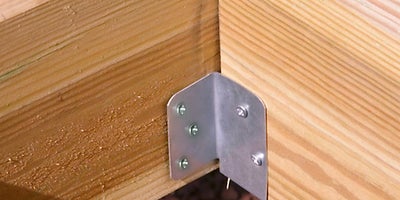
Secure the joist in your workbench and attach a joist hanger to each end using 30mm exterior screws. Then place the joist into position so that its centre lines up with the 400mm spacer mark.
Make sure the joist is flush with the frame then attach it using 100mm external grade screws and the supplied socket bit. You may need some packers, or better still a helping hand, to hold the joist in place whilst you secure it.
To secure the joist to an unexposed side of the frame, drill a skewed pilot hole on either side before securing with screws.
Once the joist is in place, fasten the final 30mm screws to the joist hangers, and repeat this until all the joists are in place.
Attaching the noggins
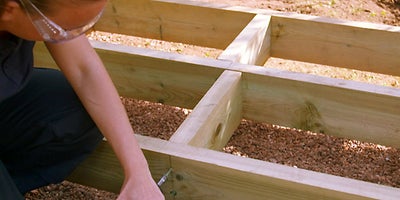
Noggins are short pieces of timber that fit between internal joists and provide stability and rigidity to the decking frame. The width of each one is fixed by the width between joists.
When measuring the joists lengthways to decide how many noggins you need, try to make sure the distance between them is never greater than 1200mm. To avoid having to skew screws it’s best to stagger the position of the noggins.
To fix them, put the noggin in position so its top is level with the joist. Use packers if necessary.
Mark the centre of the noggin’s intended position on each joist and use a set square to draw a vertical line down the joist. Then measure and mark two pilot holes on each line, 40mm from the top and 40mm from the bottom.
Drill pilot holes before securing the noggin with 100mm external timber drive screws. Once all the noggins are in place, check that your frame is level, and all your fixings are secure.
Building the steps for a raised deck
Steps should be positioned on solid level ground. The step support housing (or “stringers”) shouldn’t be spaced more than 450mm apart. We will be following the sequence of adding the step stringers, then adding the deck boards, and then finishing the steps afterwards.
Hold each step stringer in position and mark its edges onto the frame. Measure the distance between the marks and cut sections of joist to this length.
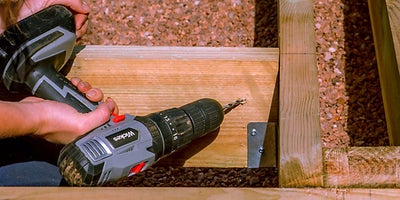
On the cut sections of joist, measure and mark out three evenly spaced pairs of pilot holes. Then clamp the sections into place, drill the pilot holes and secure with two 100mm screws at each end.
Place your first step stringer into position, making sure that it is flush to both the top and the side of the frame. Mark out two evenly spaced pilot holes, and drill through the side of the step stringer and into the joist.
Fasten the step stringer in place with countersunk 100mm screws, then repeat this process on the other outer edge of the stringer. To secure the unexposed sides, drill a skewed pilot hole on each side before screwing in a 100mm screw in each hole.
Drill a final screw through the support frame and into the back of each step stringer, being careful to avoid the other screws that are already in place.
Take a section of deck board and mark where the fascia will go. Use a set square to help you mark a clear line.
Lining up with the mark, use the chalk line to extend this mark across the width of the steps. Then measure from the far end of the deck to the chalk line and cut a deck board to length.
Place the cut deck board into position in line with the chalk line. If you are attaching fascia boards to the decking as we are here, you will need to allow for an overhang.
How to lay raised decking
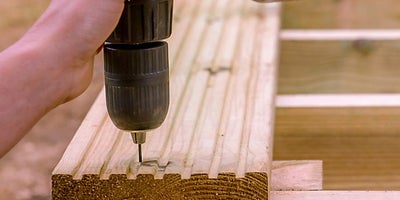
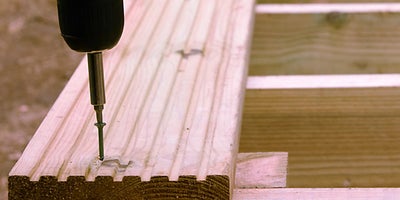
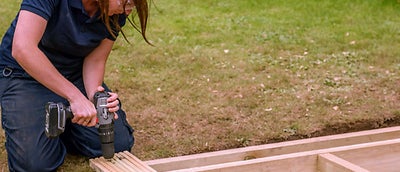
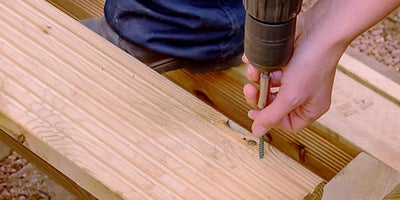
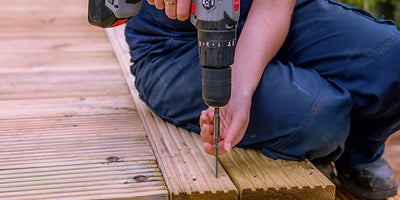
When you’re laying deck boards it’s best to pre-drill all holes with a 2mm bit to prevent damaging or splitting the timber. Countersink all the holes and screws to achieve a smoother finish.
Because the first deck board will overhang the edge, screw through the third groove of the outside edge and fix with a 64mm decking screw. Repeat this at the other end of the board so it’s fixed and straight. Then work your way down the board.
Use a suitable spacer to maintain the 5-8mm expansion gap between each decking board. Make sure the gap is even all the way along the length of each board.
Finishing the steps
Once the decking boards are all laid, measure the gap on the steps and cut sections of joist to length. These will act as additional support for your steps and can be fixed into position using the same method as for the noggins.
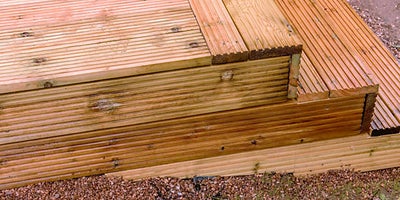
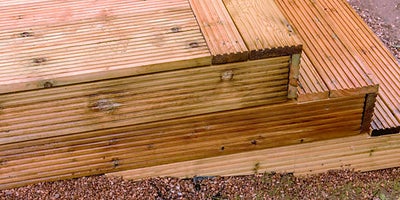
Always start by securing all the risers first. Step risers are the vertical support pieces between one step and another. Measure the width of the step between its outer edges and cut a piece of deck board to length. Make sure you allow for enough overhang on each side so that the board will be flush with the fascia.
Pre-drill your holes in the board as before, using a 2mm drill bit. Then secure the riser in place using 64mm deck screws.
To attach the boards that will form the tread, i.e. the board you actually step on, drill one screw into the second groove down and into the riser below. Always use whole deck boards at the front of the tread where the most pressure will be applied.
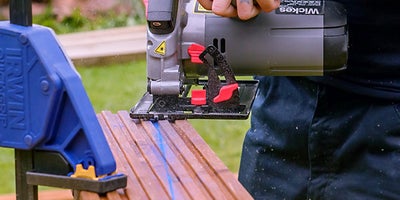
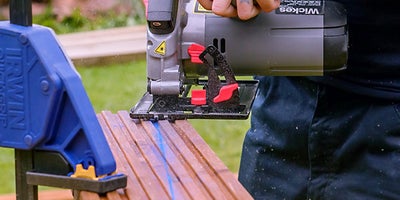
If your tread is wider than a whole deck board, and you have a gap to fill, then measure and mark the required board size, remembering to allow for the 5-8mm expansion gap. Secure the board and cut with a jigsaw.
Once the sections are cut, fix them to the step stringer below using deck screws.
Adding fascia boards to a raised deck
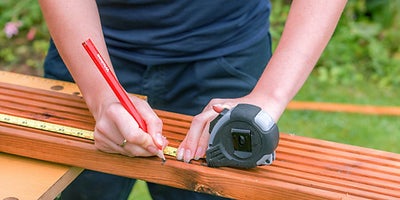
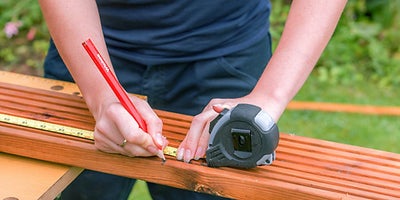
Measure and cut the boards that you need to the right length. Mark each fascia board with a line at 50mm from each end. Then from the first 50mm line measure out and mark lines at 600mm intervals down the length of the board.
When fitting the fascia boards, make sure to maintain the expansion gap of 5-8mm between all boards. Drill pilot holes on the marked lines and then fasten the boards with 64mm decking screws.
If you need to add an angled board because your garden is sloping then start by attaching packers to the main joist frame. This will give you something to secure the fascia onto.
Take an offcut of deck board and slide it underneath the top fascia until it nearly makes contact with the ground. Then mark a line along the top fascia to show the position of the new board.
Mark on the fascia where the far end of your angled board will be, then measure up to your line on the top fascia board.
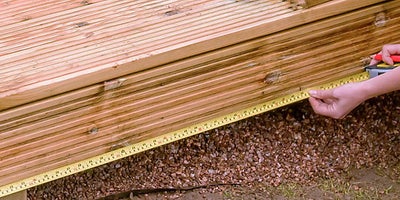
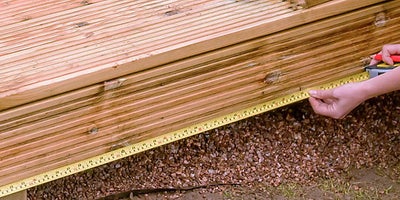
Measure the distance between the end of the angled board and the ground. Then take back 5mm as you don’t want the board to be touching the ground at any point.
On the deck board you will be using as the fascia, mark the point where the full width will end and the angled section will begin. Then make a second mark where the angled section will finish. Connect these two marks with a chalk line and use a circular saw to make the cut.
Secure the board to the packers using 64mm deck screws, then repeat this process for any other angled boards. As a finishing touch you can gravel around these angled boards. This will fill in any gaps to the ground and assist with drainage.
Measure the distance between the end of the angled board and the ground, when doing this remove 5mm as you don’t want the board to be touching the ground at any point.
On the deck board you will be using as the fascia, mark where the full width board will end (this is where the angled section will begin) and where the angled board will end.
Connect the marks where the angled board will begin and end with a chalk line and cut down this mark with a circular saw.
Secure the board to the packers using 64mm deck screws and repeat this process for all other angled boards. For an attractive finish, and to aid drainage around your decking, simply add some gravel.
Finally, if you want to add railings or lighting to your raised deck, then you can follow our step by step ‘How to assemble deck railings’ or ‘How to install deck lighting’ guides.
