How to Prepare Interior Woodwork For Painting
Planning & preparation
- Preparation is vital and the effort you put in at this stage will reward you with a paint finish that looks professional and lasts for many years
- What preparation you need to do will depend on whether you’re repainting old woodwork, or painting woodwork for the first time
- Lay out heavy-duty protective sheets to protect the floor and cover any furniture that you can’t remove from the room with dust sheets
- Before you can paint, make sure that the woodwork is free from dirt, dust and grime and that all imperfections, such as bubbles, cracks and flakes have been removed or filled
Do it right
- When sanding, always use a block to ensure the area remains level, and sand in the direction of the grain
- Vacuum thoroughly after sanding as this will stop the dust getting caught in the damp paint
- Try using a low odour, water-based primer undercoat. Its quick-drying properties allow two coats to be applied in just one day
Staying safe
- Wear protective gloves when using filler
- Wear protective gloves and safety goggles when cleaning surfaces with sugar soap
- When sanding, be sure to ventilate the space as best you can and to wear a dust mask and safety goggles
- Make sure the room is well-ventilated when painting, and be sure to take regular breaks, especially if you are using solvent-based paints
Aftercare
- Painted interior woodwork needs little maintenance, but excessive moisture can cause wood to swell, so any condensation, particularly around window frames, should be dried
- Avoid using chemical based cleaners on your painted woodwork as they may damage the finish
How to prepare previously painted woodwork
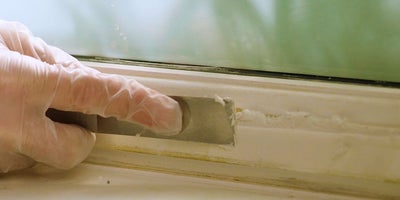
Start by checking the woodwork for any holes or cracks. If need be, place some wood filler onto a filling knife and work it into the wood. Follow manufacturer's instructions on drying time before continuing.
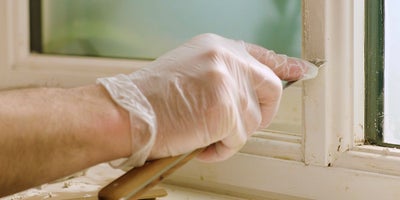
Use a firm scraper to remove any excess filler until you have a relatively smooth surface. Add more filler if required and then leave to dry.

Once the filler is dry, ventilate the room and put on your dust mask.
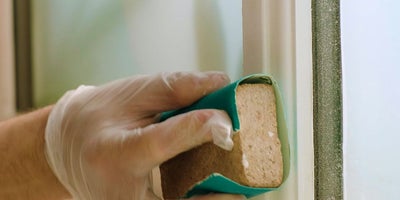
Use a sanding block or sandpaper wrapped around a block of wood to sand down the filled area. Do this in the direction of the grain, until you have a smooth and level surface.
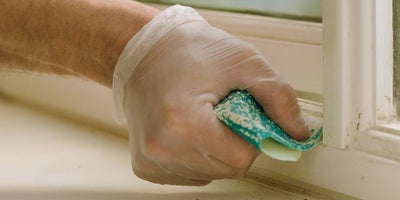
If the wood has been previously painted, use fine sandpaper to lightly sand it down and remove imperfections. Doing this will create a ‘key’ in the woodwork that will help paint to bind.
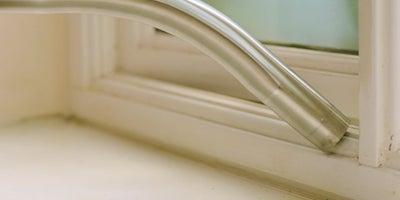
Thoroughly brush down and vacuum all surfaces after sanding to remove any dust, dirt and grime.
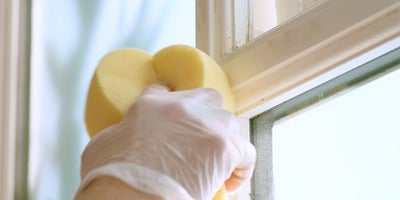
To clean the wood, use a sugar soap wipe, or a sponge, to liberally apply sugar soap across all wooden surfaces that you plan to paint. Wear protective gloves whilst handling this product.

Wipe the surfaces down, then rinse the sugar soap off with warm water. Repeat this until you are sure all grime, dirt and dust has been removed. When the surface has thoroughly dried, you are ready to start painting.
How to prepare new woodwork
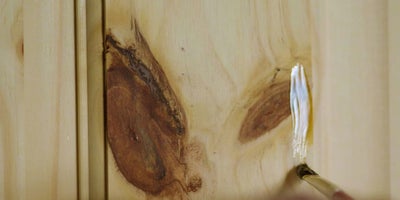
If your wooden surfaces are new and unpainted, then start by making sure they are clean before inspecting them for any knots in the grain. Treat any knots with two coats of knotting solution.
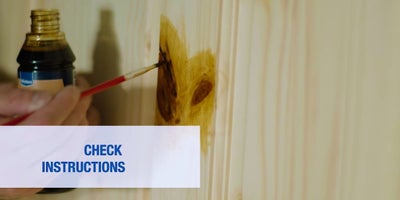
Knotting solution will stop the resin in the wood from leaking into the paintwork. Be sure to follow manufacturer’s instructions on application and drying times.
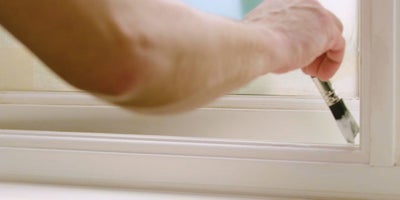
Once the knotting solution is dry, paint the new woodwork with a primer to ensure a longer lasting finish.
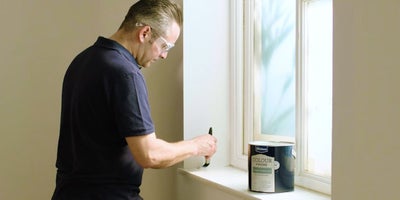
Wait for the primer to dry thoroughly, then apply an undercoat.


