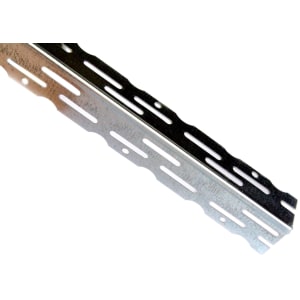
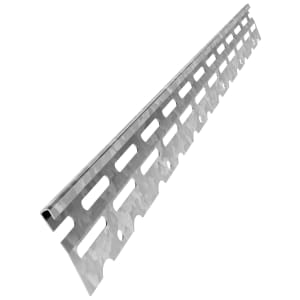
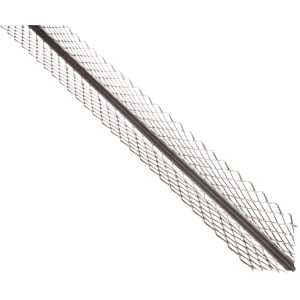
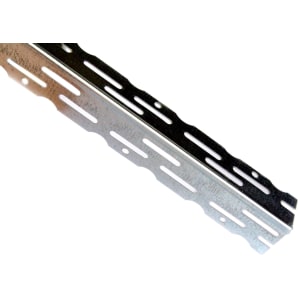
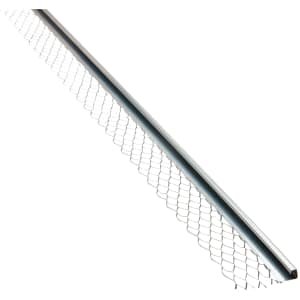

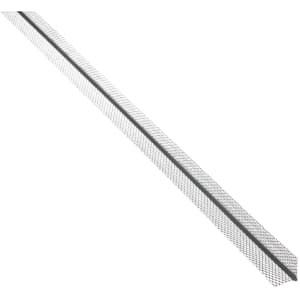
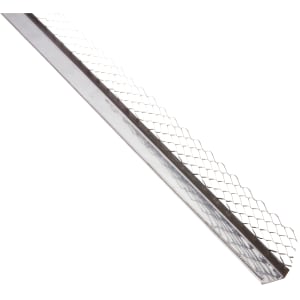
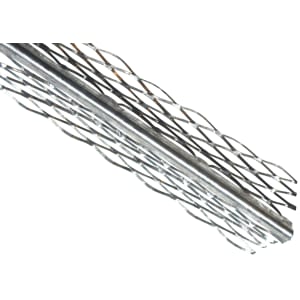




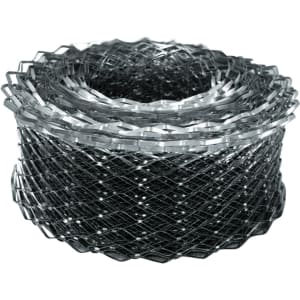

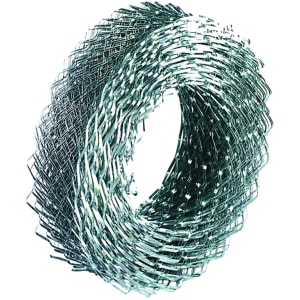


Get crisp, professional lines and long-lasting protection with trade-quality angle beads from Wickes. Essential for drylining, skim coating, and traditional wet plastering, corner beads reinforce vulnerable external edges against impacts, cracking, and chips. Our range covers all key plastering systems, offering precision engineered galvanised thin coat beads, robust mini mesh beads, and weather-resistant stainless steel or rigid PVC options.
Achieving sharp 90-degree internal corners, smooth archways, and clean window reveals requires selecting the correct plaster bead for your specific job. And matching your corner bead material to the working environment is crucial for professional, long-lasting results.
Galvanised steel provides an economical, robust solution for standard interior plasterboard walls. On the other hand, stainless steel and non-corrosive PVC trims are best for external rendering, bathrooms, and damp-prone areas to permanently prevent rust bleeding.
See our guide on repairing render for tips on how to handle the small and large cracks efficiently.
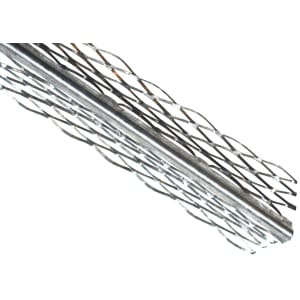
An angle bead is a straight metal or plastic trim applied to external 90-degree wall corners before plastering or drylining. It serves as reinforcement as it protects high-traffic plasterboard edges from chipping, cracking, and impact damage. It also provides precision alignment that acts as a rigid, straight guide for plasterers to draw their trowels against, guaranteeing sharp corners.
There are a few different types of angle beads for drywall:
To install an angle bead on a wall follow these steps:
Plaster on exposed plasterboard corners is naturally brittle and prone to cracking under minor physical impact. Installing angle beads embeds an armoured edge directly into the finish coat. Beyond structural durability, they save a lot of labour time as there's no need to build up sharp corner lines manually with a hawk and trowel.
There are a few tools that’ll help you fit angle beads effectively:
The best tip for an accurate cut is to always measure twice. Measure the exact height of the wall reveal or corner, allowing 2-3mm clearance gap at the base to accommodate floor expansion. Then cut both side wings first using sharp tin snips at a slight angle, before cutting through the centre rigid spine last to achieve a clean cut without bending or crushing the corner profile.
Finish up by gently flattening any sharp metal burrs (sharp raised edges left after cutting) with pliers to ensure safety and prevent snags during trowelling.


