Skip to content Skip to navigation menu
Basket
0
Planning and preparation
  • Think carefully about your colour blocking design and sketch it out beforehand to help you visualise it on your wall.
  • Consider which colours you want to use and how they’ll play off each other.
Doing it right
  • Make sure to clear your painting area before you start.
  • It’s a good idea to paint on top of a neutral base colour, to avoid any issues with your new colours.
  • Get creative with how the size, shape and colour with your blocks. This project is completely bespoke.
Staying safe
  • Make sure your stepladder is standing on flat ground if you need to use one to reach high up areas.

Preparing to paint

View instructions
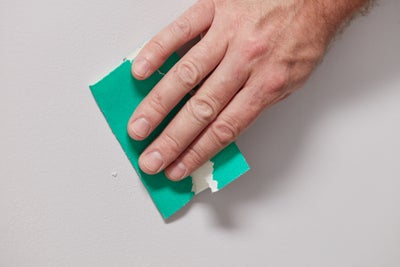
Sandpaper the surface smooth

Prepare your wall for painting by going over it with sandpaper to smooth its surface.

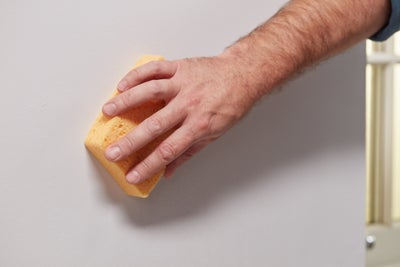
Wipe with a damp sponge

Wipe over it with a damp sponge that you’ve squeezed out thoroughly, in order to remove any remaining dust.

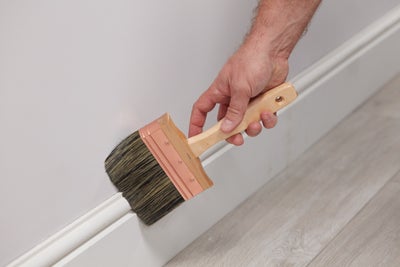
Brush dust from skirting

Brush your skirting boards to remove any dust from them.

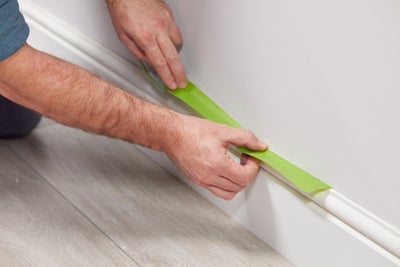
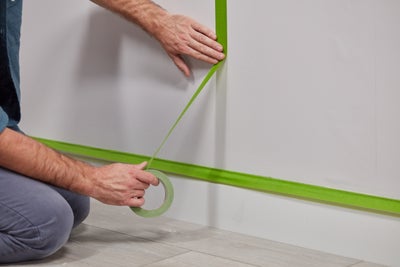
Protect skirting with masking tape

Cover them in masking tape to protect them from any accidental drips or splashes.

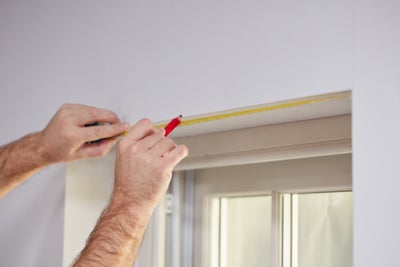
Measure the wall

Measure the area of the wall you’re planning to paint.

Marking your wall for painting

View instructions
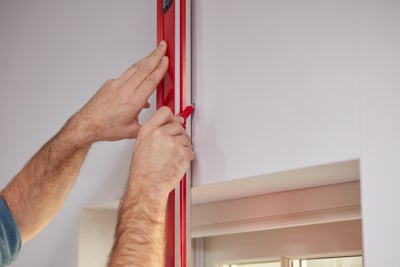
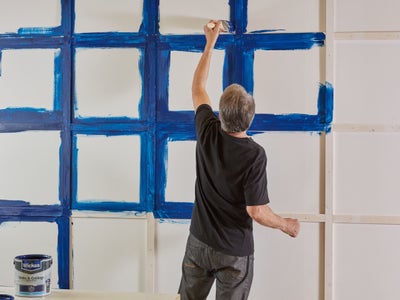
Mark out your design

Mark out your chosen blocking design using a spirit level and pencil.

Once all your blocks are marked, decide which blocks you’ll be painting first. They should be any blocks that aren’t directly connected.

Go over the lines with masking tape

Go over the sketched lines for the first blocks you’ll be painting with masking tape.

Painting your first blocks

View instructions
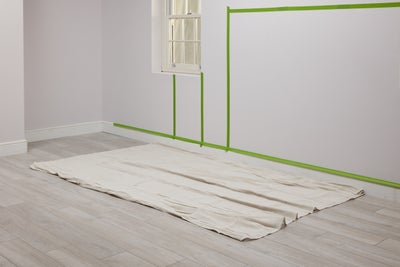
Cover the floor with a dust sheet

Cover the floor around your painting area with a dust sheet before you get started.

Take care when cutting in at the ceiling

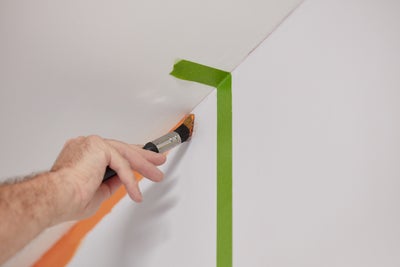
Start with any blocks that are touching the ceiling, taking care to cut in with a brush along the top edge.

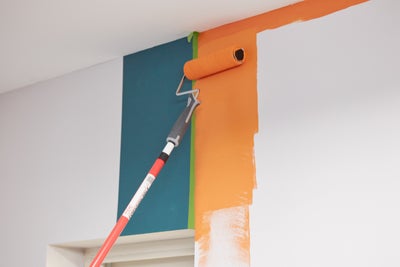
Fill in the blocks with a roller

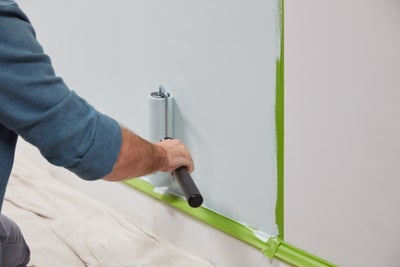
Paint around the edges of the blocks first, before filling in the middle using a roller.

Allow your blocks to dry, then add a second coat.

Remove the masking tape

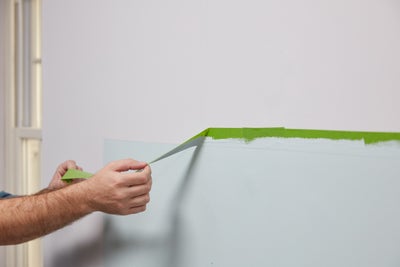
Once the second coat has dried, remove any masking tape that you don’t need.

Painting the next blocks

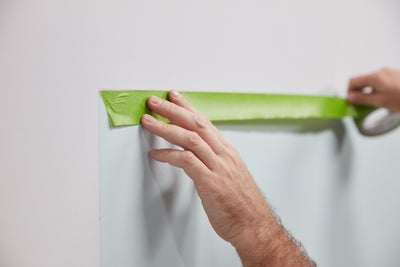
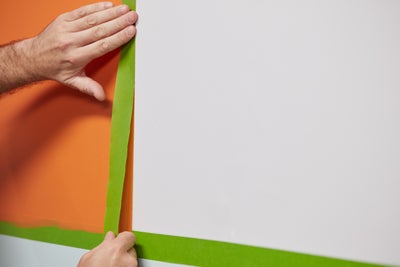
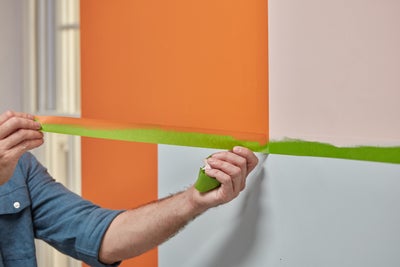
Reapply tape the edges of the blocks

Re-apply masking tape to the edges of your painted blocks, making sure to leave a tiny edge of your newly added colour showing.

This small overhang helps your colours to butt up against each other and meet seamlessly, so that your base coat is completely covered.

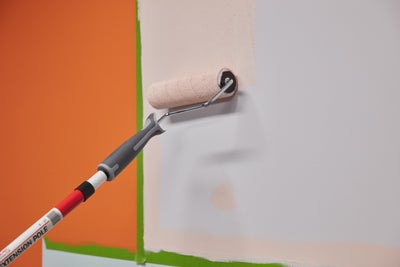
Fill in your next block

Starting at the edge where the wall meets the ceiling, cut in by hand around the edges of your next block before filling it in with your roller.

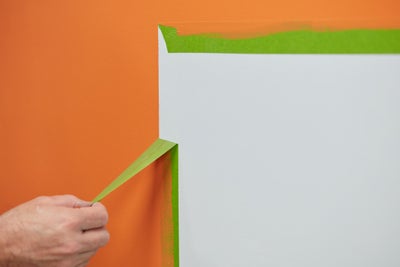
Carefully remove the masking tape

Once it has dried, carefully remove the masking tape, but leave any strips that don’t need to be covered again before you paint the final block.

Painting your final block

Mark out any final blocks

Mark out any final blocks in the same way as before, leaving a small gap of colour where it connected with an already-painted block.

Paint the final block

Paint it using the same method as you did for the others, taking care not to drip any paint if it’s situated above a block that has already been painted.

Remove any remaining masking tape

Allow the paint to dry before removing any remaining masking tape.

Getting creative

This guide simply gives you the method. It’s entirely up to you how you choose to block your colours.

Add colour to a lounge

Add a splash of colour to a playroom or lounge, or opt for soothing colours to create the ideal relaxing environment in your bedroom.