Are roof shingles the same as roof tiles?
The short answer is no. Both shingles and tiles are used to cover pitched roofs, but shingles tend to be cheaper than tiles and have a lower life expectancy. However, recent developments in technology means they are now very durable and are often designed to last 20-25 years. Roof shingles are available in a wide range of materials, such as bitumen, wood, plastic or metal.
Roof shingles are a popular roofing solution, as they’re cost effective, long lasting, and available in an extensive range of materials, colours and even shapes. So they are usually suitable for most homes, sheds and other outdoor buildings.
Is my roof suitable for roof shingles?
Survey your existing roof structure to decide if it requires maintenance or strengthening before installing any shingles. Make a note of your roof construction – you will need to have a decked roof fixed to rafters, or supported on a trussed roof structure.
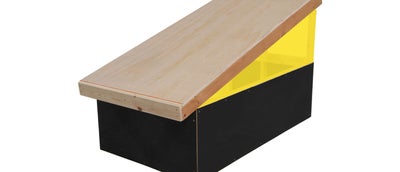
You will need to measure the slope of your roof with a protractor. This will help determine whether you can fix shingles, and any preparation you need to do. See our three options below for more details.
Roofing shingles must be laid on a roof deck fixed in accordance with the relevant British Standards & Codes of Practice. Shingles can be laid over existing roofing felt, but the surface must be flat and in good condition.
Minimum roof slope – 12.5 degrees
Minimum deck thickness – 12mm
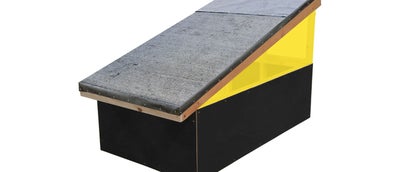
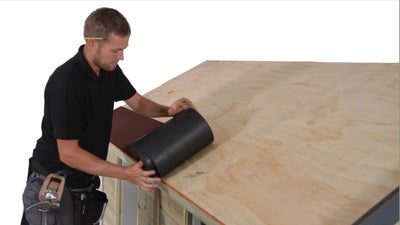
Roofing felt underlay must be used on roof slopes below 20 degrees or a 1 in 5 gradient. It’s good practice to always use a roofing underlay below shingles. Roofing felt underlay should be laid on the roof with 15cm end overlaps, and fixed by nailing with 10mm large-headed galvanised clout nails at 10cm intervals.
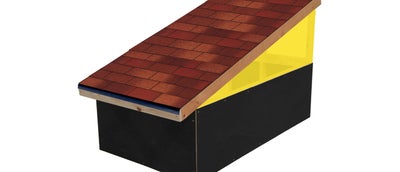
Finally, fix the roofing shingle tiles in accordance with the guide below. Any irregularity in the surface of the decking will become visible through the shingle strips once they’re laid. If shingles are laid on roof slopes greater than 45 degrees, fix a second row of 5 nails per strip along the top edge of the shingle strip. This allows them to be used for vertical wall cladding applications.
How to install roof shingles
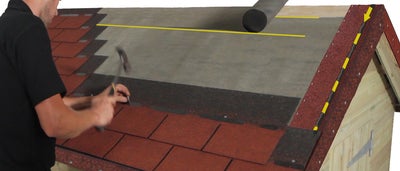
Position and unroll the detail strip so it’s square to the line of the eaves. Fix it by nailing the top edge using 10mm galvanised clout nails. Form the drip edge towards any guttering, or nail to the fascia at 5cm intervals.
When laying down your first strip, ensure the shingles are positioned square to the line of the eaves.
- Align the tiles horizontally by interlocking side slots to the edges of the shingles
- Align the tiles vertically by opening guide slots in the top of the shingle strip, so the next strip can fit in
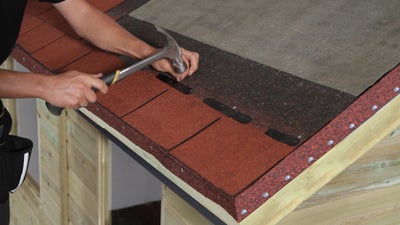
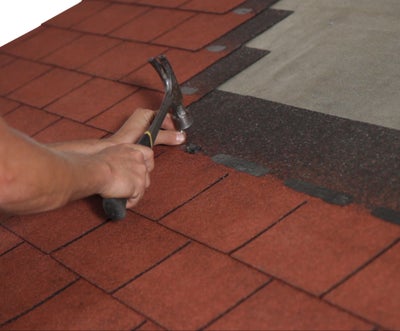
Overlay your first shingle strip, and fix it using 20mm galvanised clout nails. These nails should be placed in line with the tile joints and fixed in just above the bitumen adhesive strip.
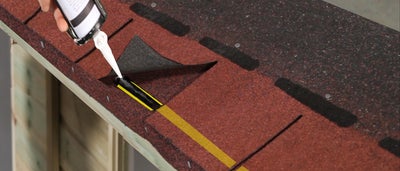
To finish fixing the shingles, apply felt lap adhesive onto the detail strip below each tile.
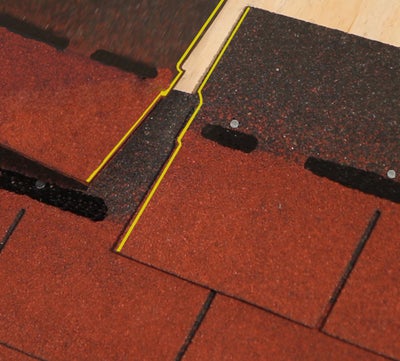
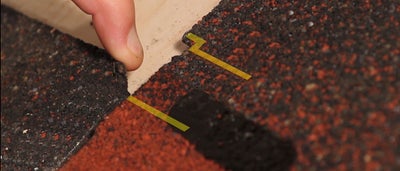
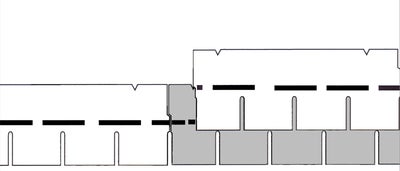
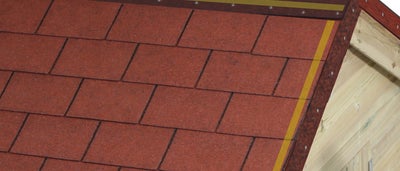
Lay the shingles diagonally across the roof, taking care to keep each tile square to the line of the eaves and the verge. Cut the tile strips to length so they lay down forming a ‘broken bond’ pattern.
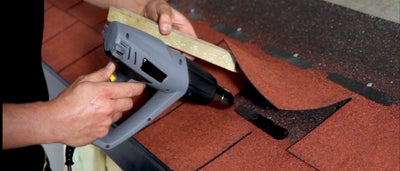
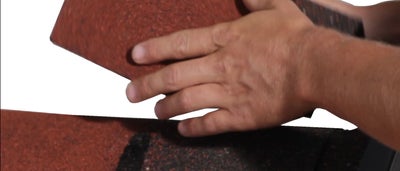
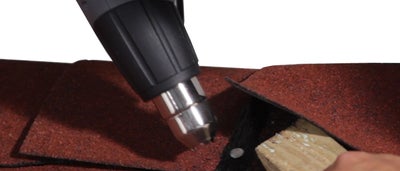
Firstly prepare the joint by cleaning off the roof debris. Lift the tile tab and heat the bitumen adhesive strip on the lower course with a high performance hot air gun.
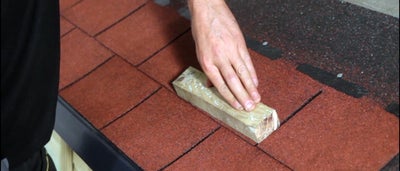
Press the tile down with a batten. Check the bond after cooling, and if it’s not secure then apply some felt lap adhesive.
Apply felt lap adhesive onto the detail strip, then overlay the shingle tiles. Nail the shingles down at the verge to fully secure them in place.
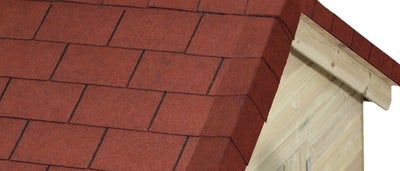
Mark out and unroll the detail strip along the roof ridge line and secure it by nailing the edge down with 20mm galvanised clout nails spaced at 10cm intervals. On exposed sites, you can also use felt lap adhesive for extra security.
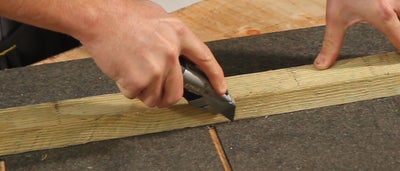
Once you’ve fixed the detail strip for the ridge shingles, you can cut the shingles to fit, using a batten to mark the line and protect your fingers. Always mark out and cut along the underside of the shingle tile.
Fitting shingle ridge tiles to your roof
As an alternative to using a detail strip for the ridge line, you can also use shingle ridge tiles that have been cut to fit.
Position the shingle tiles on the ridge and secure them through the overlap section using 20mm large headed galvanised clout nails.
You can further secure the ridge tiles by heating the bitumen strip and applying pressure with a batten. In exposed locations you can reinforce the tile overlap bonding with felt lap adhesive, applied in a strip about 1 inch in from the tile edge.
