Laying a wooden floor
Solid wood flooring is a popular choice for the home because of its ability to completely transform the look of a room. It’s durable, long-lasting, and provides a timeless, classic look. This type of flooring is easy to maintain and because the wood is natural it matures well, leading to subtle changes in shade which will only improve its looks over time.
Laying down solid wood flooring isn’t actually that difficult, but thorough and careful preparation is absolutely vital if you want to avoid future problems. It’s crucial to determine if your sub-floor is suitable, especially with regards to moisture content. Solid wood flooring is usually fixed directly to a sub-floor rather than ‘floated’. This is because solid wood flooring tends to move a little more than laminate flooring or engineered wood flooring, so it needs a more stable fixing.
Most solid wood flooring uses a tongue and groove fitting system, but some designs do have a different fitting system – check the manufacturer’s instructions for installation. This guide covers how to fit tongue and groove flooring.
Do I need underlay for solid wood flooring?
All underlay helps with damp-proofing and insulation, but because solid wood flooring is laid directly onto a sub-floor you don’t usually need underlay. Note that underlay is different from a damp-proof membrane, which you probably will need.
How do I lay solid wood flooring on concrete?
Because concrete is porous you will need to check its moisture levels before laying down your floor. As a general guide you can use duct tape to securely stick down 1m2 of polythene onto the concrete and leave overnight. If your concrete is damp, water droplets will collect on the underside of the polythene.
Alternatively you can use a professional moisture meter for a more accurate reading. Concrete sub-floors should have a moisture content of 12% or less on a prong test, or 3% or less on a moisture meter. Refer to the manufacturer’s instructions for further details. If your concrete is too damp the cause will need to be investigated and resolved before you lay down any flooring.
If your concrete is suitable you can apply a damp-proof membrane to ensure that no moisture gets through in the future - refer to the manufacturer’s instructions. A good surface primer should be able to form a strong bond with the flooring adhesive.
How do I lay solid wood flooring on floorboards?
It’s possible to lay solid wood flooring directly onto existing floorboards if they are clean, dry and level. If you’re fixing solid wood flooring to existing timber, then nailing – using secret nails - is your best option. You need to nail the new boards at 90 degree angles to the original boards for the most stable fit.
If your current floorboards aren’t level you will need to lay down a half inch plywood subfloor. It is not advisable to lay solid wood flooring directly onto chipboard, which isn’t robust or damp-proof enough.
How do I maintain solid wood flooring?
Once your floor is laid, put felt pads or castors on the bottom of chair or table legs to prevent scratching. To maintain the superb natural look of the wood, don’t use abrasive cloths or excessive amounts of water to clean the floor. You can use dry brushes, vacuum cleaners or appropriate flooring maintenance and cleaning products.
How much solid wood flooring will I need?
To calculate the number of packs you need, work out the size of your room in m2 (length x width = m2) and check against the coverage of the pack. Add an extra 10-15% for cutting and wastage.
Solid wood flooring needs to acclimatise to the room it’s going to be laid in. Leave the unopened packs flat for at least 7 days. Don’t stack the packs more than three high, and preferably wedge something between each pack so the air can circulate fully around them. Never store the packs by leaning them against the wall, which can lead to bowing.
Where do I start when laying solid wood flooring?
If you’re laying onto concrete or a new sub-floor then the direction you lay your floorboards is up to you. Laying towards a light source makes the joins less visible. Laying horizontally or vertically will influence the perspective of the room.
It’s a good idea to ‘set out’ your floorboards prior to laying, so you can work out how they will be arranged and how wide the last edge row will be. Flooring requires an expansion gap of 10-12mm around the edges to allow the wood to expand and contract naturally over time. Failing to include an expansion gap can warp and damage the floorboards in the future.
Setting out also helps with positioning boards which will adjoin pipes. Pipes should sit in the middle of the board’s width, not at the edges. This makes cutting much easier later on.
To work out how many rows you need, measure the width of the room and divide this by the width of a flooring panel, allowing for expansion gaps. If the width of the final row is less than 60mm you’ll have to trim your first board lengthways to accommodate the necessary extra width. The aim is to avoid having edge boards which are too thin.
How do I lay solid wood flooring?
This section covers how to lay solid wood flooring on a concrete sub-floor. Make sure that the door will clear any new flooring, and a threshold bar if you’re fitting one. You may end up having to trim the bottom of the door to make room. Then remove any doors before you fit the flooring, as you will be cutting into the architrave.
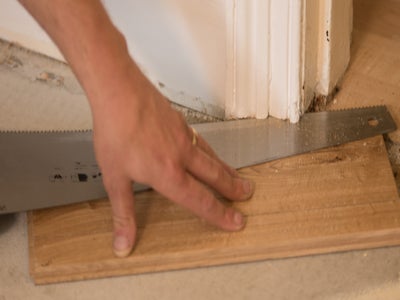
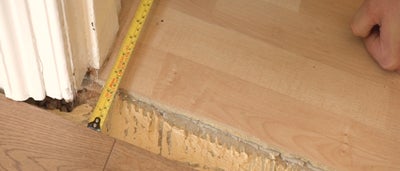
Line up an offcut of the floorboard with the architrave. Use a panel saw to trim the architrave so that the floorboard will fit underneath. Use a hammer and chisel to remove the excess wood.
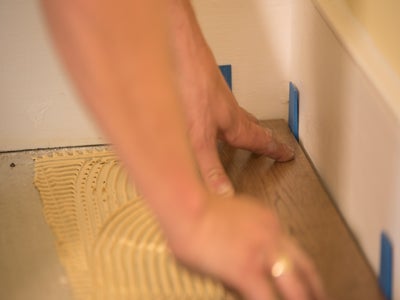
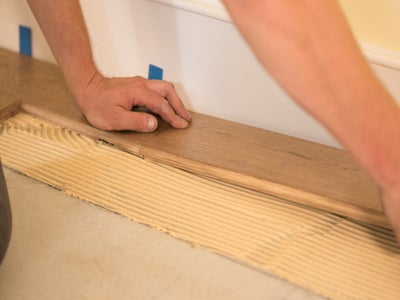
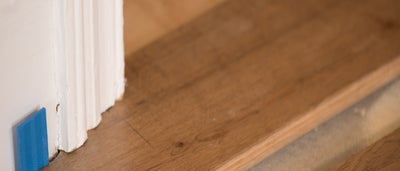
Lay the first board with the groove facing the wall. Press down firmly to ensure that the board and subfloor form a strong bond with each other. Then place 10-12mm flooring spacers between the wall and the board to create the expansion gap. Place a couple of spacers along the length of the board and one across the width.
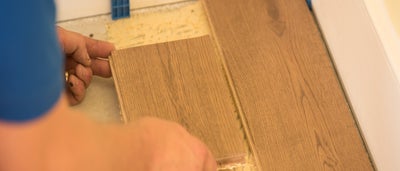
Once you’re happy that the first board is in the right position, lay the next board from a slightly raised position and lower into place. Make sure the alignment is precise, as you want the first row to be perfectly straight. Add more flooring spacers to maintain the expansion gap.
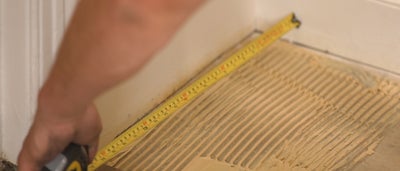
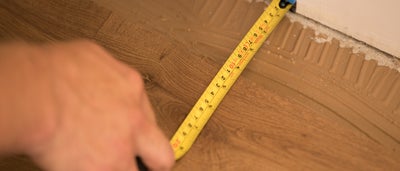
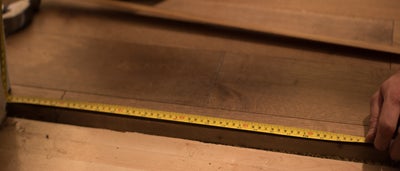
Repeat this process until you can’t lay any more full length boards. You’ll need to cut the last board to fit. Measure the distance between the last full board and the wall spacer.
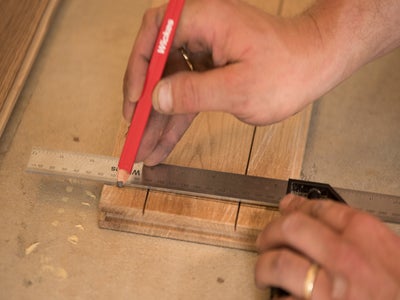
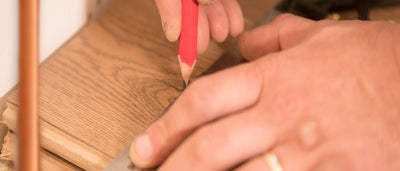
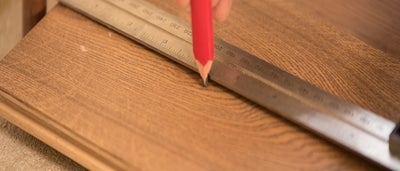
Measure and mark the cutting line on the underside of the floorboard you intend to cut. Make sure you cut from the correct end so the board fits into the tongue and groove sequence.
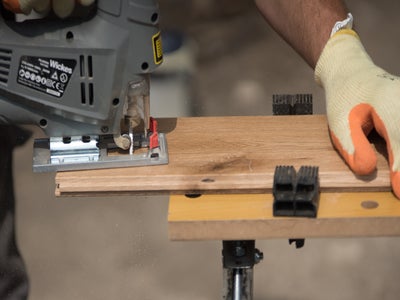
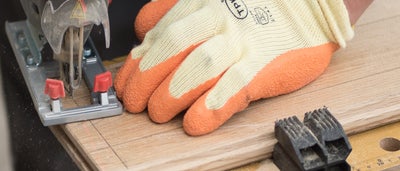
Clamp the board into a workbench and cut with a jigsaw or panel saw. Fit the board into position to complete your first row.
If the offcut from the first row is at least 300mm long, then you can use it to start your second row from the same end that you started your first row. Never start a second row with a full length board. You are aiming to make sure that the joints between boards are staggered across all the rows. This both looks good and provides better stability. Remember to use a flooring spacer at the start of each row, then lay down the boards by repeating the above process.
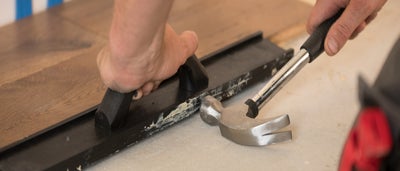
As you go along, be sure to check that each board is fitting tightly. You can use a crowbar or tapping block to nudge boards into position. Never use a mallet or hammer directly on the boards as this can damage them.
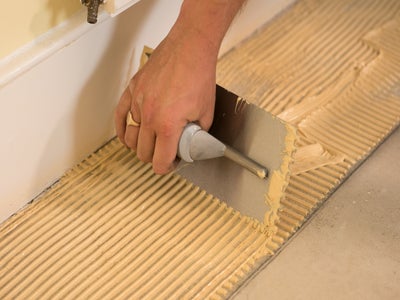
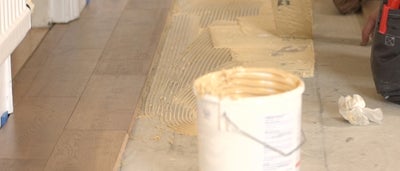
Once the first two rows are secure and straight, spread the next batch of flooring adhesive across another two board widths. Be careful not to spread more adhesive than you can comfortably cover in 30 minutes, after which time the adhesive will start to dry out.
You may need to cut boards to fit the gap in the final row - this will have been planned when you were setting out. In which case, measure the gap between the last full row and a flooring spacer. Cut the board to size and lay as normal. Once the floor is laid, wait for at least 2 hours before walking on it.
How do I fit flooring around a door frame?
First of all make sure you have cut away a section of the architrave to accommodate the new boards (as detailed earlier).
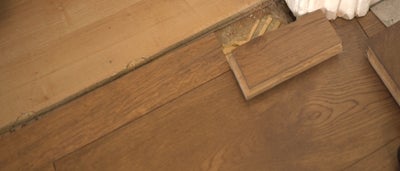
Carefully measure up the shape and size of the board you need to cut, concentrating on the door gap between the architrave edges, and the width and length of the board. It may be easier to fill the gap using two smaller boards rather than one.
We are using two boards to fit the gap. Cut both boards to the right length and width using a jigsaw or hacksaw.
Lay the cut boards against the architrave and mark where you need to trim the ends so that the boards will be able to slide underneath. Cut to fit using a jigsaw or a panel saw.
Slide the first section into position and push it under the architrave as far as it will go. Then place the second board into position and slide the first section back a little to create an expansion gap at both ends.
If you’re fitting a threshold bar be sure to choose one that’s appropriate for your flooring. Carefully measure the width of the door frame, allowing for a 10-12mm expansion gap on both sides. Then cut the threshold bar to size and secure it with either grab adhesive or screws, depending on the manufacturer’s instructions.
How do I fit flooring around radiator pipes?
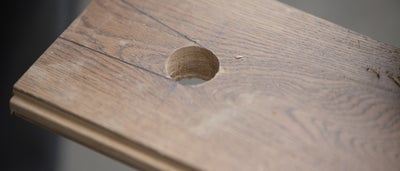
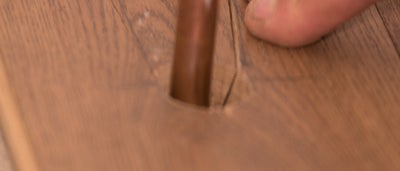
If you need to cut around a radiator pipe, lay your board next to the pipe and draw a line on the board to show where the centre of the pipe will be. Then lay the same board front onto the pipe and again draw a mark from the centre of the pipe which intersects with your first line. Where the two lines intersect marks where you need to drill.
Draw a pair of straight lines from the edges of the hole to the edge of the board. Each line should run at a slight outward angle.
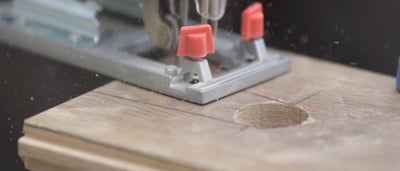
Use a jigsaw or hacksaw to cut along these lines. Remove the wedge, but keep it as you’ll need it later. Fit the board into position around the radiator pipe. You may need to trim the profile edge with a chisel. Lay down the board, then push the wedge back into place using grab adhesive. Add a pipe collar for a neat finish, securing it with grab adhesive.
How do I fit floor skirting and trim?
If your original skirting covers the expansion gaps, then refit it now. Alternatively you can use floor trim, especially if you have laid down flooring without removing the skirting.
Remove the flooring spacers and measure the lengths of flooring trim you will need.
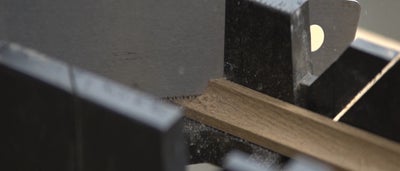
Use a mitre box and panel saw to make accurate 45 degree cuts at the ends that will join in the corners.
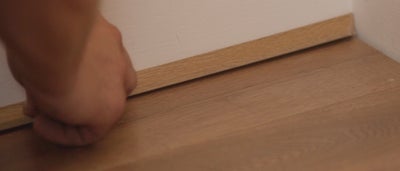
Fix the flooring trim in place using grab adhesive. Don’t fix the trim to the flooring, as this prevents natural expansion of the floorboards. Fit only to the wall or skirting. If necessary you can also hold the trim in place using panel pins.
