Laying a garden path
A path is an integral component to the look and appeal of a garden, as well as being a great practical addition. It will wind its way past your favourite flowerbeds, and connect your home with patios, sheds or decking. A well planned garden path will draw the eye and look superb in any garden.
This guide covers how to lay a garden path into an existing lawn using three popular materials:
- A gravel path is a quick and easy way to achieve an attractive, natural looking path which is low maintenance
- Paving slabs are ideal for areas of heavy traffic and are an opportunity to get a bit creative with sizes, shapes and materials for your path
- Block paving also offers a chance to use bricks of different colours and styles
Carefully plan your pathway. Think about its position in the garden, the materials you’ll need, the type of soil you’ll be digging into, and whether or not you may need to cut any paving slabs to size. If your path is going to be on ground that’s prone to waterlogging, you may need to increase the depth of your sub-base layer.
Because laying a path often involves lifting and moving heavy slabs, it’s usually best to ask someone to help you. Wear suitable footwear and gloves when digging, and when handling slabs, sand, gravel, or cement. If you are using a wacker plate, then wear ear defenders and steel toe-capped boots.
When using a mortar mix or Slablayer, wear a dust mask, safety goggles and protective gloves, and be sure to follow the manufacturer’s instructions. Wet and dry cement can cause skin irritation so please handle carefully and immediately wash off any cement that accidentally makes contact with your skin.
How to dig a pathway
For this guide we will be laying a straight path, but of course you may plan a curved path to match the contours of your garden. We recommend a path width of at least 900mm. Before you start digging it’s worthwhile marking out the proposed area using pegs and string, or a garden hose for curved pathways. You can also lay paving slabs directly onto the lawn to visualise what your path will look like.
Before laying a garden path, use a CAT tool to make sure there are no hidden pipes or cables where you intend to dig.
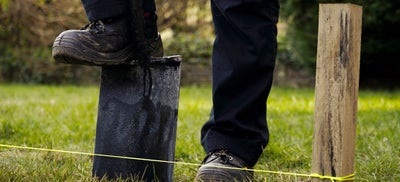
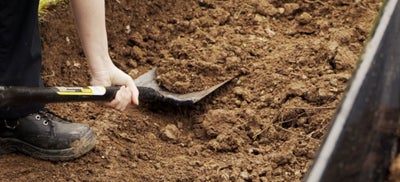
Mark out the position of the path using pegs and string and dig out the turf to the depth of the edging you intend to use. The top of the edging should sit at ground level.
As a general rule gravel paths need an overall depth of 100mm, whereas block paving and paving slabs will need a base layer of up to 150mm, plus the depth of the paving you are using. In damper soil you may need a base layer of up to 200mm.
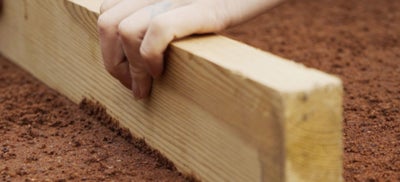
Once you have dug your trench, edge it with treated timber boards which have been cut to measure.
How to lay a gravel path in a garden
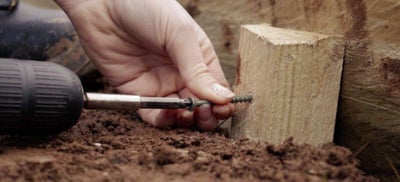
Starting at each end of the path, drive in treated pegs at intervals of no more than 1.2m and fix them to the edging boards with external grade screws. Use a spirit level to check that your edging remains level as you go.
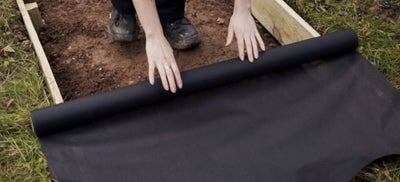
Roll out landscape fabric and cut it to the appropriate size. Allow for 50mm overlap on each edge and 150mm at each end.
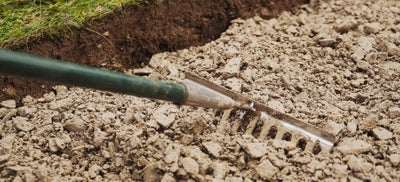
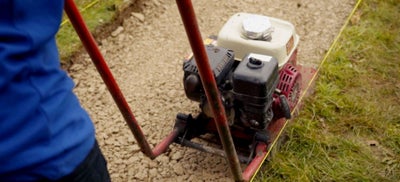
Add a 50mm layer of MOT type 1 sub base or similar hardcore, and rake over. Then compact this layer using a tamper or for larger areas, a wacker plate.
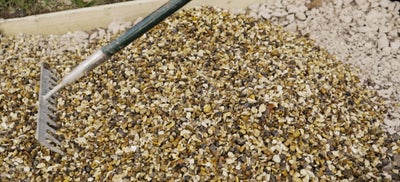
Add your gravel to a depth of approximately 25mm and rake the surface level. You should aim to leave a depth of 25mm from the gravel to the top of the edging.
How to lay a garden path with slabs
Starting at each end of the path, drive in treated pegs at intervals of no more than 1.2m and fix them to the edging boards with external grade screws. Use a spirit level to check that your edging remains level as you go.
Add a 50mm layer of MOT type 1 sub base or similar hardcore, and rake over. Then compact this layer using a tamper or for larger areas, a wacker plate.
Add another 50mm layer of MOT type 1 or hardcore and once again compact using a tamper or wacker plate.
Add the Slablayer to a depth of 25mm, level with a rake, and add water as per the manufacturer’s instructions. Then rake again, making sure the surface is level.
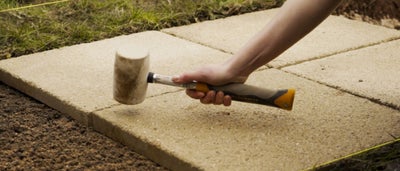
Dampen the underside of your first slab, then place it into position. Bed the slab in with a rubber mallet and check that it’s square and level. Repeat this for the second slab. It’s important to ensure that these first two slabs are square and level, as they will be the guide slabs for the rest of the path.
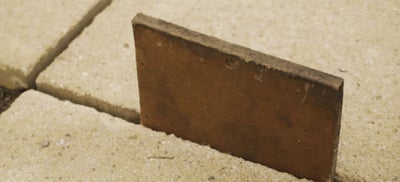
Use this process to lay the rest of the slabs, checking them as you go. Try to maintain a gap of 100mm between each slab. The best way to do this is by using spacers or a wooden offcut.
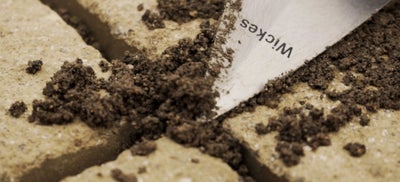
Allow the Slablayer to dry completely. If rain is forecast, you’ll need to cover it with plastic sheeting. Then fill in the joints with a damp sand mix. Apply with a trowel and brush away any excess.
How to lay a garden path with block paving
Measure your trench for the block paving. Allow for 100mm of sub-base, 50mm of sand, plus the depth of your chosen paving. Remember that when your path is compacted the bricks will sit about 15mm into the sand base.
Add a 50mm layer of MOT type 1 sub base or similar hardcore, and rake over. Then compact this layer using a tamper or for larger areas, a wacker plate.
Add another 50mm layer of MOT type 1 or hardcore and once again compact using a tamper or wacker plate.
Next add a layer of sharp sand and lightly dampen it using a hose or watering can. Compact the sand with a suitable offcut of timber to a depth of 50mm.
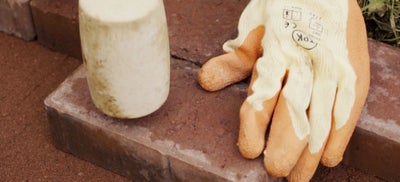
Lay your block paving bricks and gently tap them into place with a rubber mallet. Use a spirit level to check that your bricks are level as you go along.
Cover the bricks with a layer of kiln dried sand and sweep the sand into the joints. Compact the path using a tamper or wacker plate, and then re-apply the sand to fill in any gaps.

