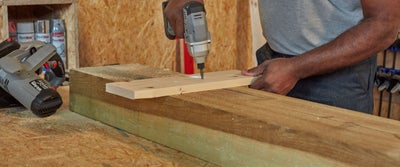
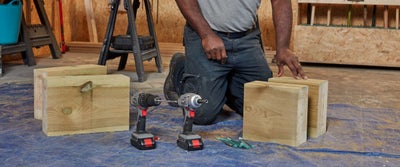
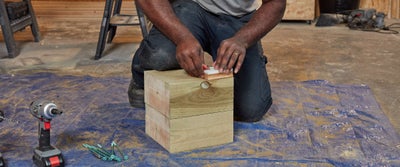
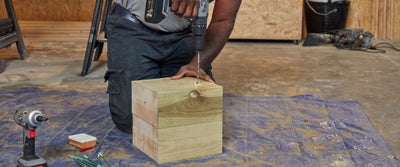
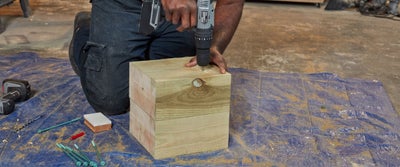
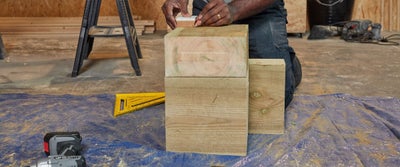
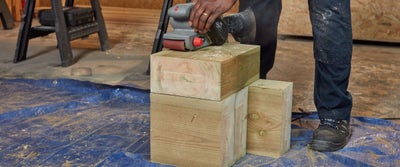
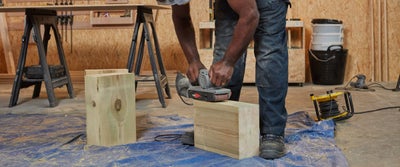
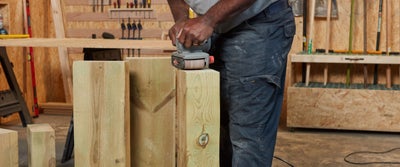
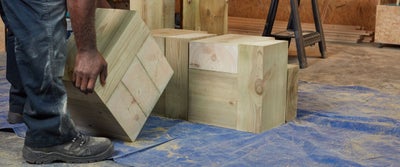
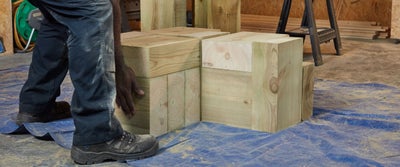
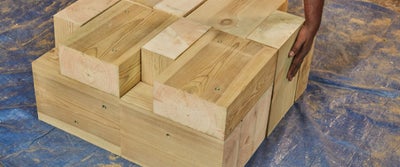
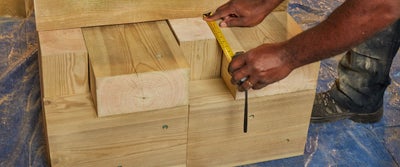
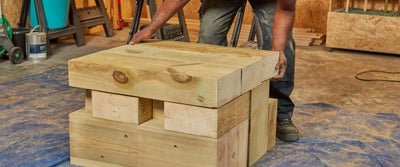
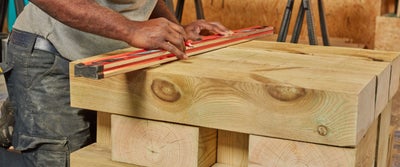
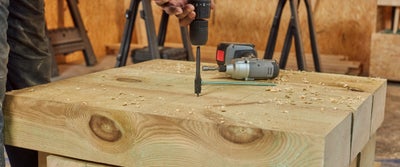
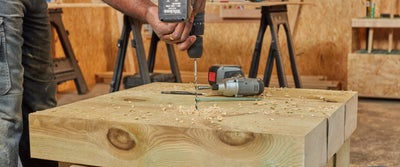
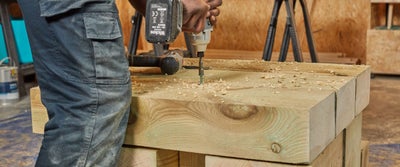
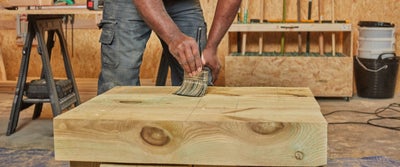
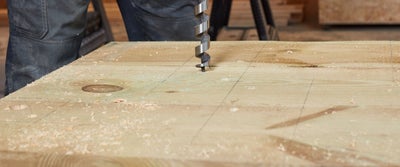
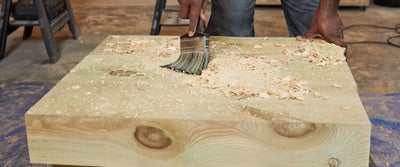
Create your own sleeper table system
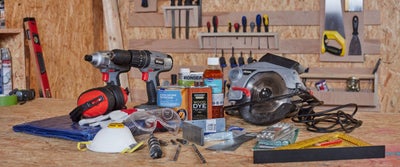
TOOLS
MATERIALS
Planning & preparation
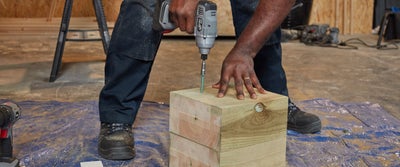
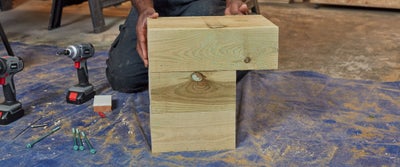
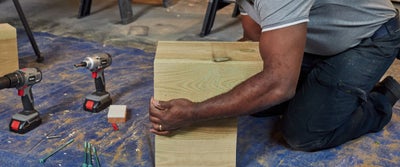
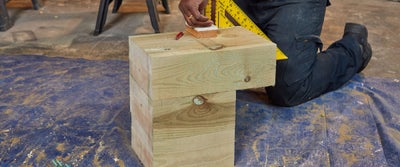
- We are going to show you how to build a garden table system from timber sleepers, step by step.
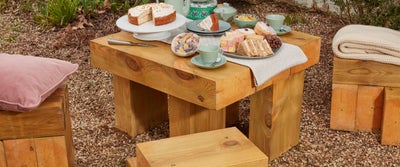
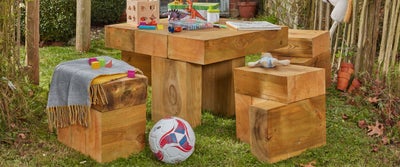
- Building your own sleeper furniture is an inventive, unique and cost-effective way to make bespoke garden furniture to suit your space. Sleepers are sturdy and durable by nature and when treated with suitable finishes will weather well for many years whatever the weather.
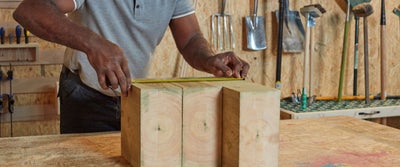
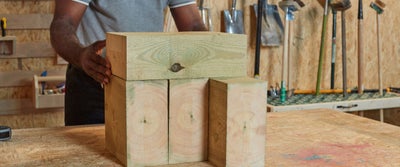
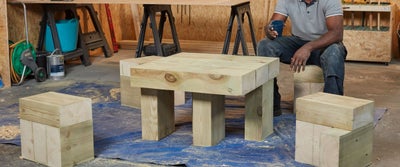
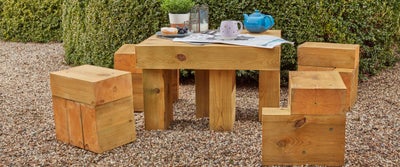
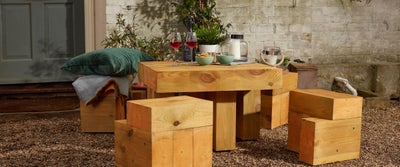
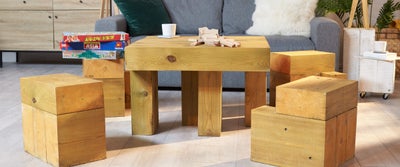
- Ideal for those who have a compact outdoor area or would prefer a traditional solution with a modular twist; this compact table system is designed so the stools slot neatly under the table and around the supporting legs for a minimal footprint. The stools also feature an integrated leg style handle to aid the removal of the stools from under the table.
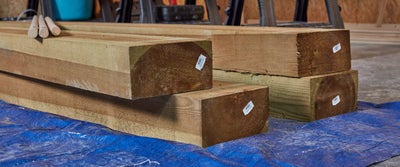
- We designed our sleeper table to maximise four 2.4m sleeper lengths for minimal waste. Our cutting list details the cuts for four stools and one table with four supporting legs.
- Our step by step instructions and cutting list have been designed as a guideline. If you choose to follow our guide, the sleeper table will measure approximately 750 X 750 X 375mm.
- If you choose to follow our cutting list, the timber for this project will cost under £185 and is available from Wickes.
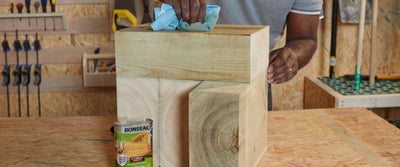
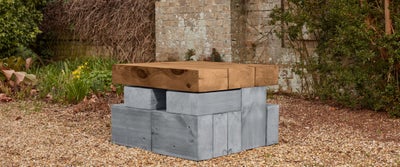
- We used softwood treated pine sleepers that we protected with an exterior furniture oil, however, you can experiment with hardwood sleepers and a number of finishes for a different look.
- This project will take a DIYer with moderate experience approximately six hours to build. To ensure you have sufficient time to finish the table and allow it dry, we recommend setting aside a day for this project.
Doing it right
- This build can be customised to your space and the materials you have to work with. If you choose to customise the project, we recommend drawing up the design and working out the measurements before you begin cutting.
- To follow the design set out in the video, we have created this cutting list to help with your measurements.
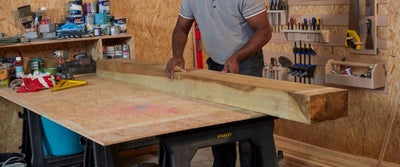
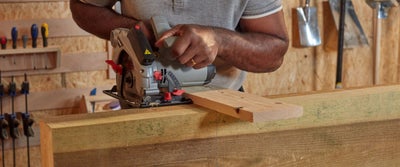
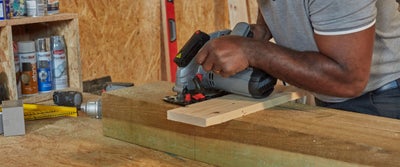
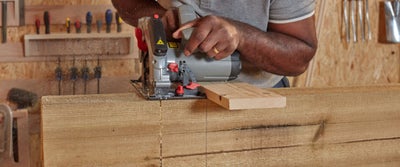
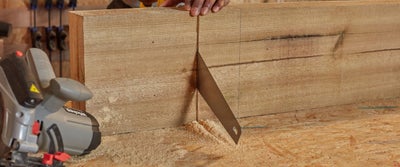
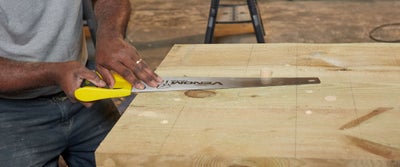
- There are many ways to cut sleepers, but we recommend using a circular saw for accuracy, precision and speed. If you don’t have access to power tools, this softwood project may also be completed with a universal saw.
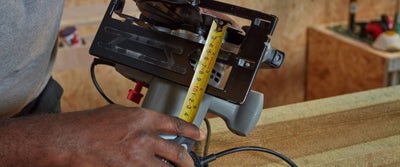
- Consider the tolerance, runout and alignment of your power saw blades when making cuts. Depending on your tools, you may find that the dimensions are adjusted by between 2-3mm. For consistency, ensure that you cut on the same side of the scribed line each time.
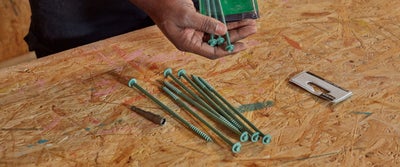
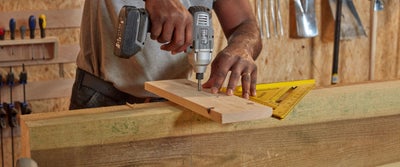
- There are also many ways to join sleepers depending on your material and project. We chose to work with softwood sleepers and would recommend hex drive timber screws for fixing, however, if you use hardwood sleepers you will need to use stainless steel wood screws as the natural tannins can corrode ferrous metals.
- If you are joining full-length sleepers without cutting them, it’s a good idea to check the sawn ends before you begin, as you may find that they are not quite square and need to be planed or sanded for accuracy.
- Working with sleepers can be very messy. Brush down your sleepers at regular intervals to remove any sawdust and thoroughly sweep or vacuum your working area before applying any finishes to the timber.
- For more sleeper inspiration, our working with sleepers video has advice on cutting, joining and finishing techniques to help you choose the right methods for your project.
Staying safe
- Inspect the cables and blades of your power tools before they are plugged in to ensure they are in good condition. If any of the elements need to be replaced, make sure this is done before construction begins.
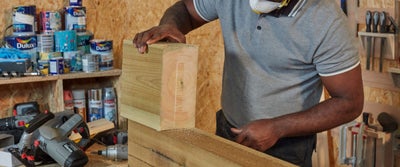
- Cutting and sanding sleepers in very messy work so adequate ventilation and protective wear are essential. Ensure that you are wearing protective clothing including goggles, a dust mask, ear defenders and gloves.
- Sawdust lingers in the air, spreading and settling on every surface. As breathing in particles from treated wood can be dangerous, it’s important that you work in a well-ventilated space. If you can’t work outdoors, consider using an air filtration or dust extracting system, alongside a vacuum and power tool dust collector bags.
- When working with large timber, it can be a good idea to pile the timber close to your working area, so it can be gently rolled off and into position as you work.
- It’s a good idea to have another pair of hands around during this project to help with moving and lifting, as the sleepers and constructed table will be very heavy. If you choose to work alone, it can be useful to have a sack barrow to hand to make manoeuvring easier.
- Always check the manufacturer’s label before applying any preservatives, paints, stains or treatments.
Deciding on the design
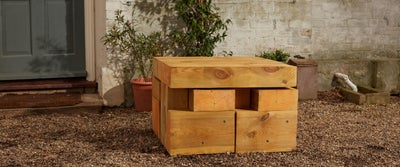
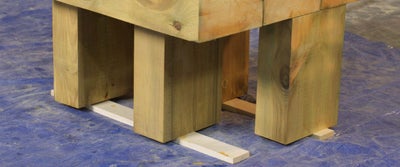
This sleeper system is designed to house four stools that slot in and around four hidden supporting legs. If you choose to tweak the build, we recommend drawing your design to ensure you have enough timber, and as a guide for arranging the stools and legs for fixing later on.
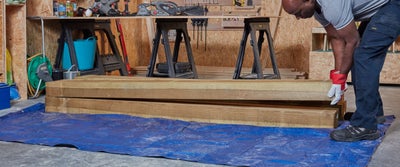
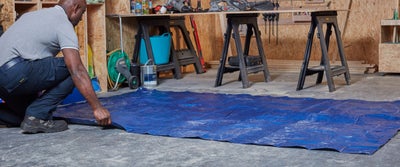
Gathering materials and prepping your space
View instructions
Cutting the stools, tabletop and legs
View instructions
Measuring the stools
View instructions
Assembling the stools
View instructions
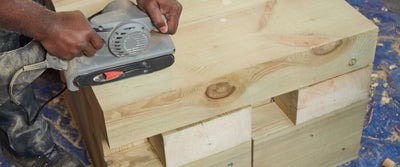
Sanding the stools, tabletop lengths and table legs
View instructions
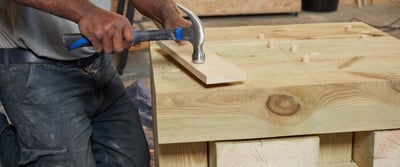
Assembling the table
View instructions
Securing the table
View instructions
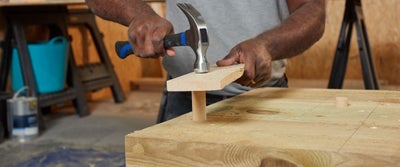
Driving in dowel and plugging the screw heads
View instructions
Applying finishes
View instructions
Aftercare
View instructions
Get creative
View instructions
Inspiration
View instructions
For more ideas, advice and DIY how-to guides, visit the inspiration hub; and share your #WithWickes project with us online.
