Laying artificial grass
Artificial grass is an affordable, low maintenance option for any garden, and can be installed to complement other design features such as decking. Artificial grass has a vibrant appearance and a natural feel underfoot. It’s particularly convenient for pet owners who wish to avoid muddy churned-up lawns.
Do I need underlay for artificial grass?
Artificial grass should be laid on a smooth, clean and level surface. It can be laid on concrete but this guide concentrates on how to lay on a sand and stone base. Artificial grass should not be laid directly on topsoil - always use underlay and a sub-base.
How to prepare the ground for artificial grass
As with most garden projects, thorough preparation will achieve the best results. Carefully measure out the area you’re working on, which will limit wastage when you order your grass. If you are fitting edging then remember that artificial grass is sold in different pile heights, so your edge needs to complement this. Any edging should not be higher than the level of the turf.
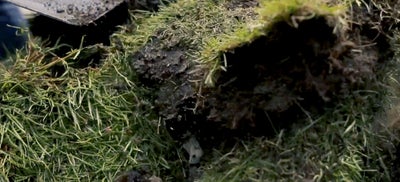
If you are planning to remove and replace a large area of turf, then hiring a turf cutter will considerably reduce the workload and speed up preparation. Remove the turf and dig to a depth of 100mm. If your soil is already well compacted and free draining you can dig to a depth of 70mm instead.
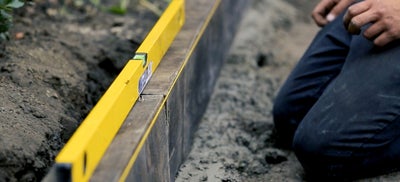
Fake grass needs a durable edge to fit against, so you may need to install some edging. Metal, timber, concrete or brick are all suitable, but make sure the edging is level when you install it.
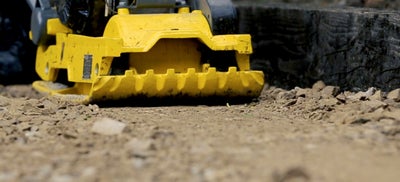
The depth and material of your sub-layer will depend on the soil beneath. If you have a clay soil which drains poorly, then start by adding a 75mm layer of aggregate such as MOT type 1. Use a rake to level it out before using a compactor to firm it up.
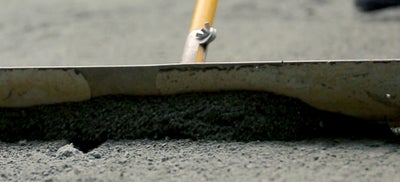
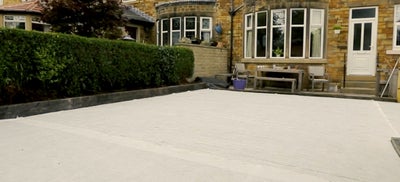
Add a 20-40mm layer of fine aggregate such as sharp sand. Rake through to level it out and once again use a compactor. You may need to repeat this process to achieve the best results. The total depth of your sub-base will depend on the height of the artificial turf you have chosen, and the type of soil you have. Refer to the manufacturer’s instructions for the best results. It’s important to incorporate a slight camber in the base, so that it slopes slightly towards the edges to encourage drainage.
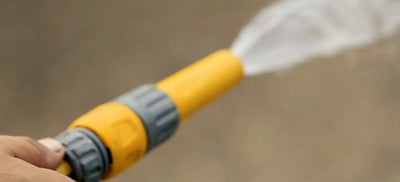
Once you have finished laying the sub-base, spray it with water to help the materials bind together.
Finally, install a layer of permeable weed membrane or landscaping fabric, making sure that it covers the whole of the base layer.
How to fit artificial grass
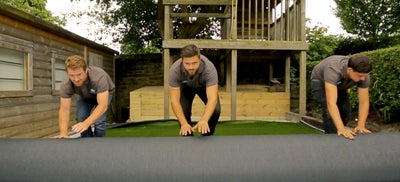
Roll out the grass, making sure that the entire area is covered and that there is a 50mm overlap on all outside edges, and between any sections. Because you will be joining sections together, make sure that the pile all runs in the same direction. Fake grass usually looks best with the pile facing the house.
Now leave the grass for at least 2-3 hours, or preferably overnight, to allow it to acclimatise.
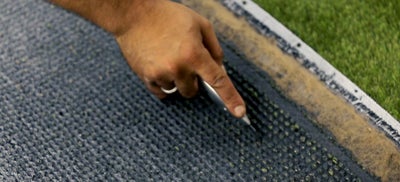
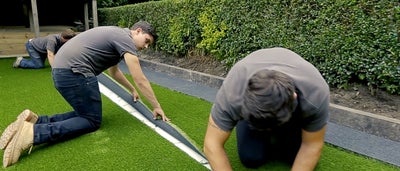
To join sections together, line them up with an overlap and check that the pile is running in the same direction. Then fold back one of the sections and carefully cut through the latex with a sharp retractable knife.
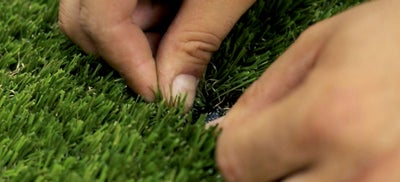
Once you’ve cut all the way along, bring the two sections together to test the joint. There should be a consistent 1-2mm gap between the sections, and the seam shouldn’t be visible from a distance.
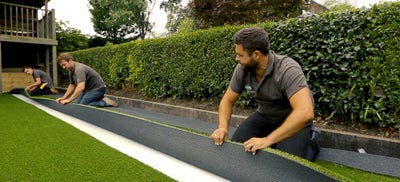
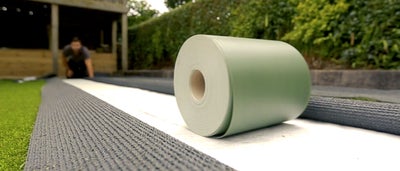
If you are happy then fold back the edges of the grass all the way along the length of the join. Then roll out the joining tape between the two lengths of grass, with the shiny side of the tape facing downwards.
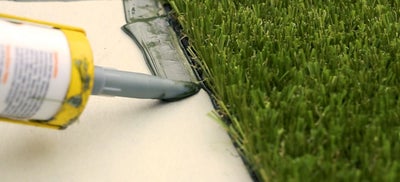
Apply lawn fix adhesive along the length of the seam. Then carefully work your way along the joint, sticking the turf down onto the tape.
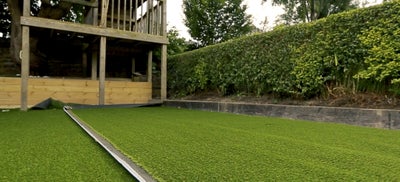
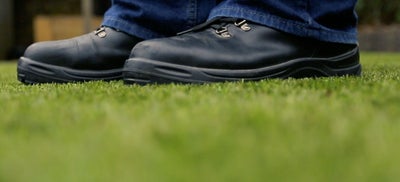
Once the sections are joined together, walk along the joint to firmly secure the grass in place. Repeat this process for all the joints. Then fix the turf to the sub-base with landscaping pins or nails, hammered in at regular intervals along the edges.
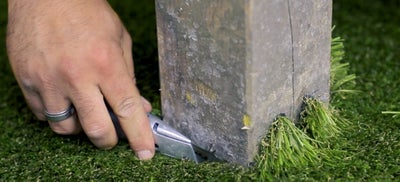
Use a retractable knife to carefully cut around edges and obstacles to ensure a neat edge and a tight fit. Leave the grass for up to 24 hours to allow the adhesive to dry and the turf to settle.
Looking after your artificial grass
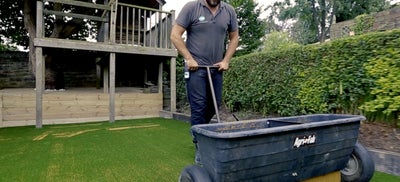
Although it’s not essential, spreading an even layer of block paving sand over your new turf will provide it with additional stability. Spread at a rate of approximately 5kg/sqm. You can hire a sand spreader to do this. However it’s not advisable for pet owners to spread sand, in order to maintain freshness of the grass.
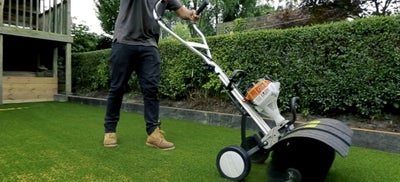
You should also regularly brush your grass to keep the fibres straight and even. You can hire a mechanical brush to do this, but a stiff broom would also work. You can also remove leaves and other debris with a plastic rake.
Ensure that barbeques and other hot objects don’t come into direct contact with the grass. It’s also best to try and spread the load of any garden furniture.
