Create your own peg board storage
TOOLS
MATERIALS
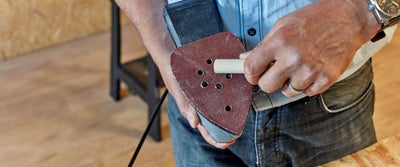
- 120 grit sanding sheets
- Wood screws (4 X 25mm)
- 1 X general purpose timber board (18mm X 600mm X 1150mm)
- 3 X light hardwood dowel moulding (18mm X 18mm X 2400m)
- 1 X whitewood PSE timber (18 X 144 X 1800mm) or offcut timber
- PSE strip wood or softwood offcuts
- Pine glass bead mouldings (9mm X 9mm X 2.4m)
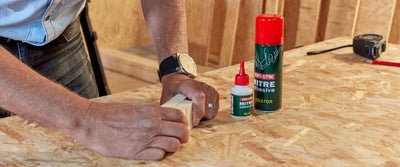
- Mitre adhesive
SAFETY
Planning & preparation
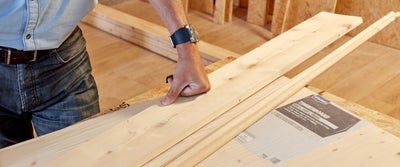
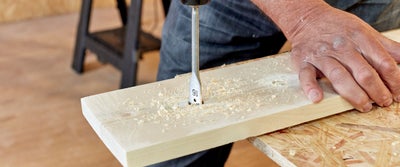
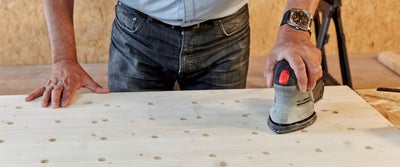
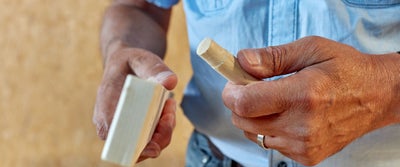
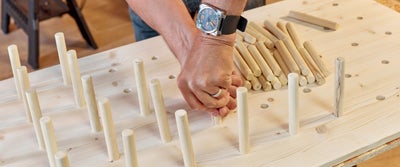
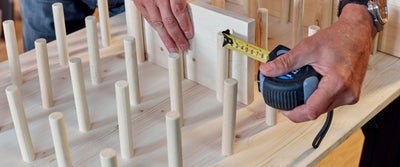
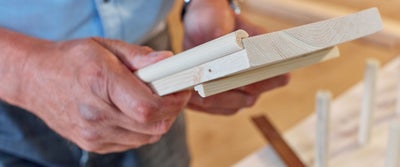
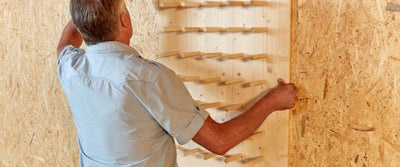
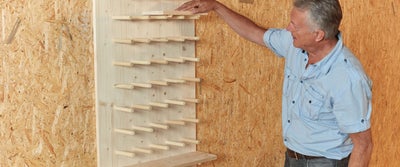
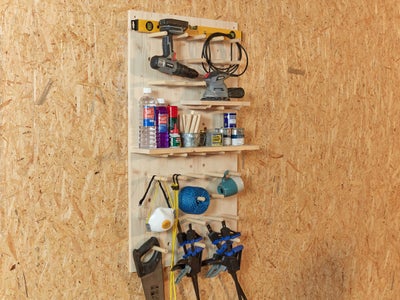
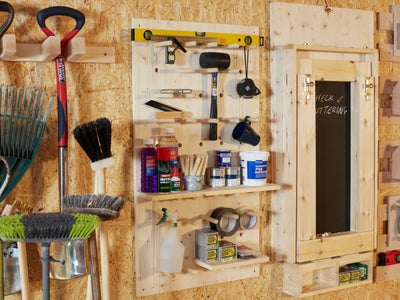
- We are going to show you how to make a wall mounted peg board. Constructed from timberboard with perforated holes that fit wooden dowels to hang items on, we’ll also show you how to make supported shelving for larger goods.
- The materials for this project will cost under £80 and will take a DIYer with moderate skill, approximately 4 hours to build.
- The assembled peg board will measure 18 x 600 x 1100mm and hold 50 wooden dowels.
- Peg boards can be made in any shape or size. For the best results and most efficient use of space, we recommend measuring your wall and adapting the instructions to custom fit your home. Simply calculate the distance between each hole and the edge of the board to create your preferred grid layout.
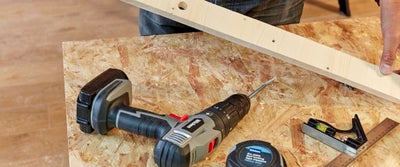
- Ensure your workbench and power tools are close by for ease of construction.
Doing it right
- Our step by step instructions have been designed as a guideline to build a peg board from one sheet of 18 x 600 x 1150mm timber. These dimensions can be changed depending on how much space you have to hang your peg board.
- We are using timberboard but you could also use hardwood ply or chipboard for a different look.
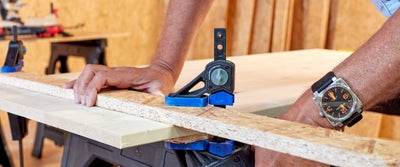
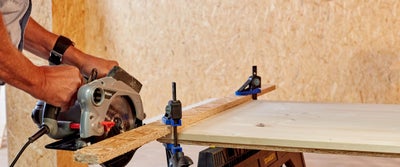
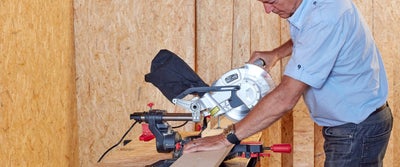
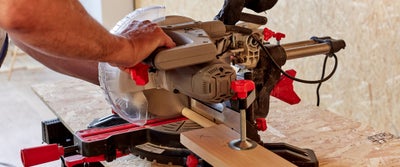
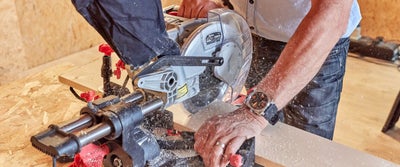
- A chop saw or circular saw will ensure that your timber is cut accurately with precision speed. If you don’t have access to power tools, this project can also be completed with a universal saw. Ensure your timber is securely clamped, then slowly cut along your scored line with a clean and sharp saw blade.
- Depending on where you mount your peg board, make sure you use the right screws for your wall and wall plugs where extra support is required.
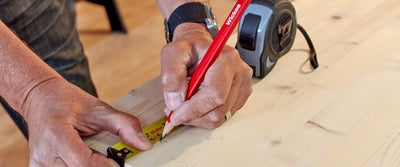
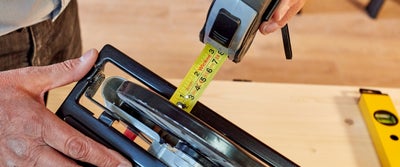
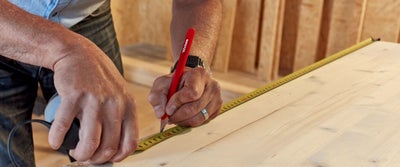
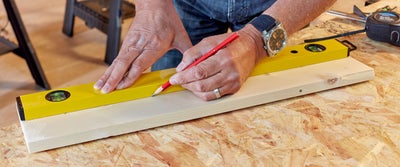
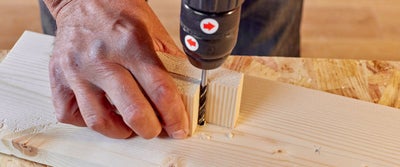
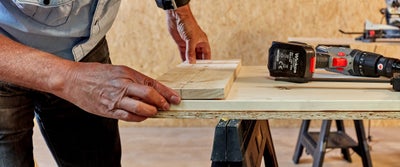
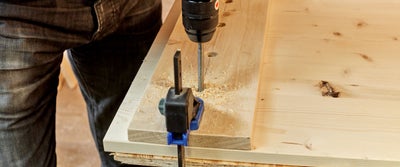
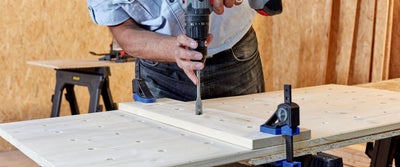
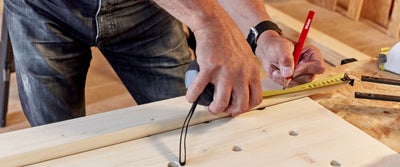
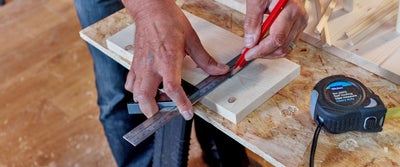
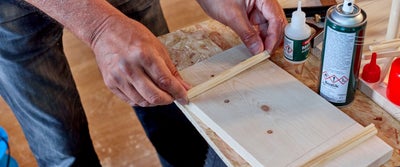
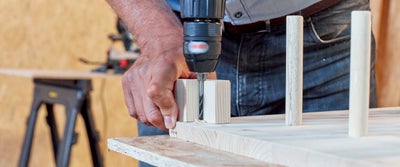
- We have made wooden jigs for this construction to aid drilling speed, accuracy and repetition. If you prefer, you can measure and mark your timberboard as you work, using a tape measure or metal ruler.
- Watch our top tip videos for our Wickes DIY skills, tips and advice.
Staying safe
- For safety, we recommend wearing protective goggles and heavy-duty gloves when using a chop saw or drill.
- Check that your materials are securely clamped to your workbench surface before you begin making any cuts.
- Inspect the cables and blade of the chop saw and circular saw before they are plugged in, to ensure they are in good condition. If any of the elements need to be replaced, make sure this is done before construction begins.
- Ensure your construction area is well lit and ventilated.
- Always check the manufacturer’s label for recommendations before applying any stains, paints or treatments.
